


If you’re new to no-till gardening, it might seem intimidating. Don’t worry — it’s so easy and a lot of fun. When your garden costs less money and doesn’t require back-breaking labor to keep it weed-free and healthy, it won’t be a chore that you dread. You’ll be able to focus on the joy of tending and nurturing your plants.
If you want some more background, check out the rest of our no-till gardening series. Start with A Beginner’s Look at No-Till Gardening to find out some of the backstory of no-till gardening, including how the Dust Bowl taught some hard lessons about the harmful effects of tilling on soil health. You’ll also learn about different ways no-till gardening is used today. If you’d like to skip to the part where you find out what’s in it for you, then dig a little deeper into Unearthing the Benefitsof No-Till Gardening. You’ll see what the big deal about no-till is and why you should take a closer look. And now, it’s time to put all that theory into practice. Let’s take it a step at a time.
Assess Your Garden Site

- Soil Quality and Drainage. If this is an established garden, you may already know its characteristics. If this is your first time planting on a site, you’ll need a general lay of the land. Watch how the water flows during and after rainfall to assess drainage. A soil test is a simple but important step that gives you key insights into necessary soil amendments and provides a guide for future improvements.
- Light exposure. Spend a few sunny days getting a feel for how much sun your site gets throughout the day. Note how buildings or trees alter sunlight patterns so that you can choose the best spots for different crops.
- Existing vegetation. Pay attention to the types of weeds and plants already thriving in your site. They’ll teach you a lot about your soil’s condition, moisture levels, and even possible pests to watch out for. As an easy example, dandelions and plantain often thrive in compacted soil. This step may require research, but it will give you valuable information for the season ahead.
- Accessibility. If your chosen spot has issues that make it hard to tend, you want to consider those before you plant. If there’s no easy way to get water or supplies to your garden but the site is perfect otherwise, you can figure out your strategy ahead of time.
Prep Your No-Till Garden Site
After taking stock of your garden site, the fun begins! Here are some options to consider as you try your hand at no-till gardening.
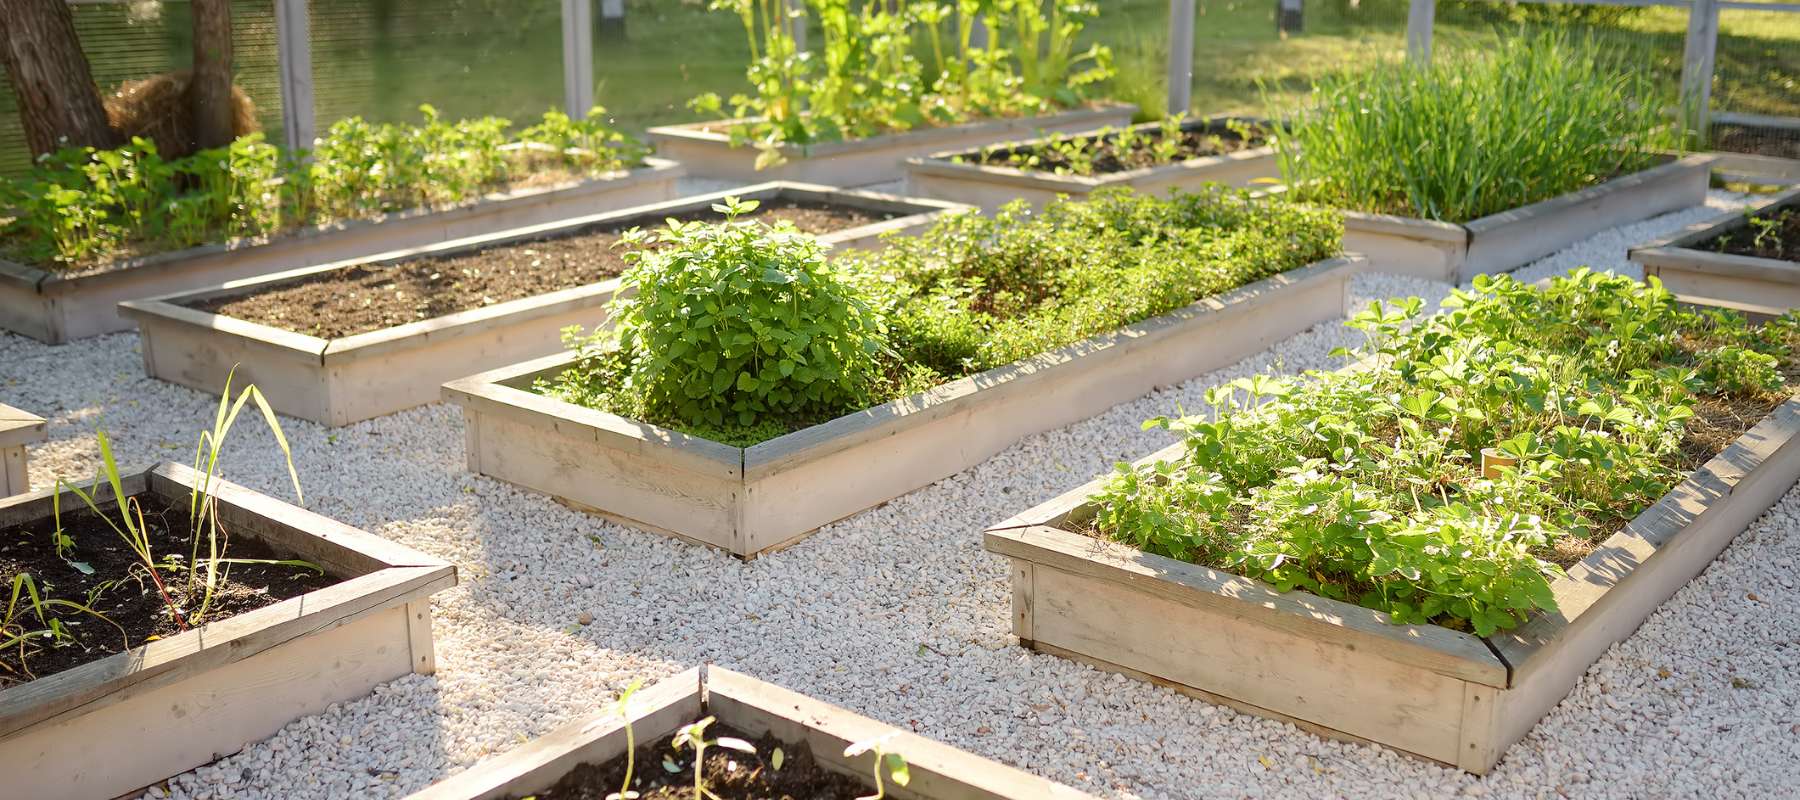
Raised Beds, Container, or Square Foot Gardening. You may not have considered these to be no-till gardens, but they are. These contained spaces are easy to control and perfect for beginners and those who don’t have a lot of space. It’s also a great way to sidestep many of the issues that come with contaminated, rocky, or poor soil. If you’re not quite ready to convert your whole garden, try adding some containers or a raised bed or two and see what you can learn on a small scale.
Create Hugelkultur Mounds. Traditional hugelkultur involves using rotting logs and plant material as a base for mounds for growing. Hugelkultur can also be adapted to create rich and fertile raised garden beds. I successfully used this method with fantastic results when I lived in an apartment with limited space. It saved me a ton of money on garden soil and my plants were very happy and productive.

Direct Planting. If you are converting an area with decent soil and good drainage, clear out any existing plants and rocks before planting. Mulch heavily around your new plants to suppress weeds, provide organic material, and improve moisture retention.
Solarization. You can kill off existing vegetation by covering the garden with a layer of heavy black plastic and allowing it to “cook” with the sun’s heat. This option can be super useful for areas overrun with hard-to-clear plants. I’ve used this method to help with a runaway poison ivy situation. While this method can affect the soil microbiome's top layers, it can also help to reduce the viability of the existing seed bank and discourage pathogens. Weigh your options carefully and decide if the benefits outweigh the drawbacks.
Cardboard Barriers. To smother weeds, you can lay overlapping layers of plain brown cardboard directly on the ground, ensuring all staples and tape are removed. Wet it down thoroughly and add a heavy layer of mulch to hold it down, speed up decomposition, and further suppress weeds. You can plant directly into the cardboard by punching holes for your seedlings. You can also use a cardboard barrier in the fall to prep for next year’s garden. By spring, you’ll probably find that the cardboard and mulch are beginning to break down, making planting much easier.

Organic Mulch and Soil Amendments. Use this method as a stand-alone option to start no-till gardening or pair it with any of the other suggestions above. Add four to six inches of organic mulch, such as wood chips, tree bark, straw, or shredded leaves, to the top of your garden soil. As the organic material breaks down, it will nourish and build soil quality while helping with moisture retention and temperature regulation. If your soil needs amendments, top-dress the bed by adding compost, manure, lime, bone meal, and other types of fertilizer to the surface of the garden bed. Water and the soil organisms will gradually incorporate these amendments into the soil. This mimics the methods of nature and recycles nutrients naturally.
Maintaining No-Till Gardens
Maintenance is not very different for a no-till garden, but you’ll probably find it to be a lot less work once you get the hang of things.
Watering
Water your garden according to the needs of your plants. Don’t be surprised if you have to use much less water due to your soil’s improved texture and water retention.
Weeding
Weed management can also be easier with no-till gardens. Tilling disrupts the seed bank, bringing weed seeds to the surface where they can germinate and quickly overwhelm your plants.
Mulch
An appropriate mulch layer can benefit most gardens. It helps prevent moisture evaporation and suppresses weeds. With the no-till garden, mulch gradually becomes part of the soil as it decomposes. There’s no need to do all the work of tilling that top layer deeper into the soil. The ecosystem you’ve nurtured should have a healthy population of insects, microorganisms, fungi, and bacteria that will do the work for you.

Cover Crops
Grow your own 'green mulch'—cover crops that keep the soil active and full of roots during the off-season. Choose cover crops according to your soil’s needs. Sowing daikon radishes as a cover crop can help break up compacted soil, legumes like clover or hairy vetch can fix nitrogen, and mustard can help suppress nematodes. You can use the “chop and drop” method to return the nutrients to the soil by chopping the cover crop down before it goes to seed. Leave it in place to decompose.
If you’re curious about no-till gardening, why not start with this year’s garden? It may sound like a whole new idea, but it really doesn’t require reinventing your whole approach or overhauling your current practices. Ease into it if you like by converting a corner of your garden to no-till or adding a raised bed to your patio. Even if you decide that no-till isn’t the perfect fit for your current situation, you’ll get valuable insights into a sustainable technique to improve your skills and make you a more well-rounded, versatile gardener.
Written by Teresa C., Zone 8a, Alabama