


Don’t dismiss microgreens just because they’re trendy. This gourmet food item can also be grown in an emergency situation as a highly nutritious superfood. Growing microgreens is a fun, easy skill that should be a part of any prepper’s survival plan.
Benefits of Growing Microgreens
Microgreens are nutritionally dense superfoods, packed with vitamins and minerals. They have a more intense flavor and around 4-6 times more nutrients than their adult counterparts. The seeds can be added to a bug-out bag without adding a lot of weight. Microgreens can also be dehydrated and added to your long-term food storage for even more portability. It only takes a couple of weeks to grow them, indoors or outdoors. Indoor microgreens can be grown year-round. They don’t take up much space either, so you can even grow them on a counter in your apartment.
Growing your own microgreens is inexpensive and only costs a fraction of supermarket prices. Store-bought microgreens simply aren’t as tasty or nutritious, either. These delicate little greens deteriorate quickly, so it’s better to harvest them as you need them.
Microgreens, Sprouts, and Baby Greens: What’s the Difference?

Sprouts, microgreens, and baby greens are very similar, but they are grown differently and have distinct advantages and uses.
Sprouts are germinated hydroponically (in water) and are ready in just a few days. The water has to be changed frequently for safety reasons. Sprouts are eaten whole, root and all. Popular choices for sprouting include cole crops, leafy greens, legumes, and grains.
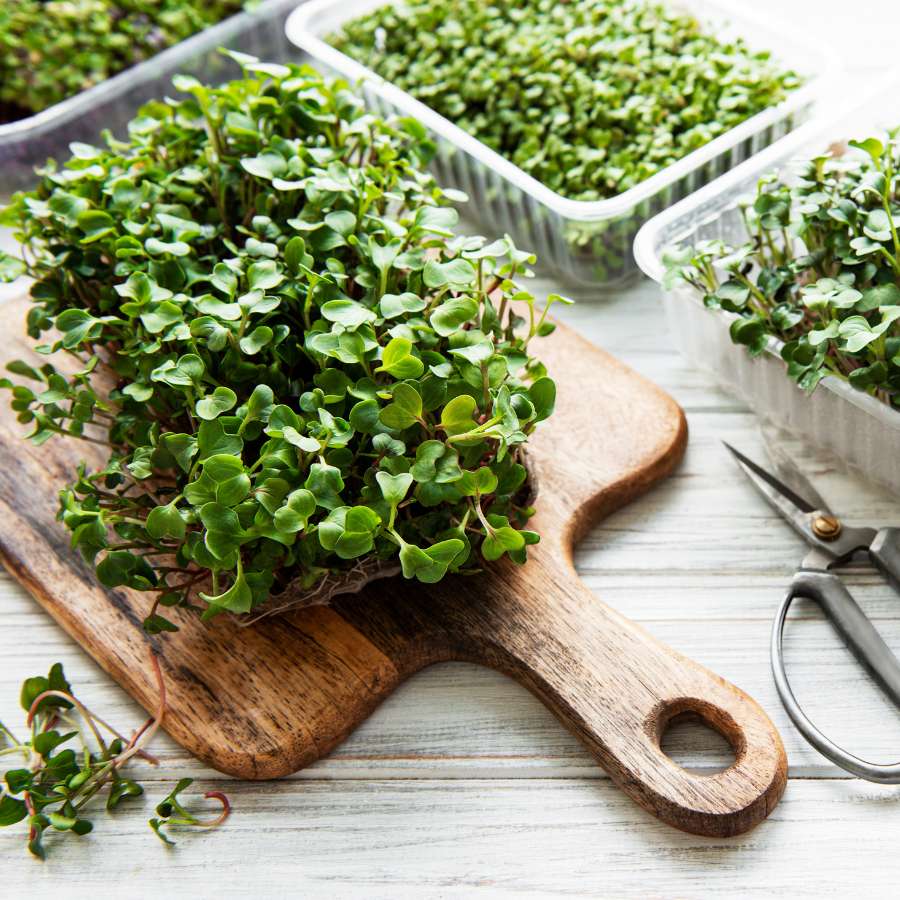
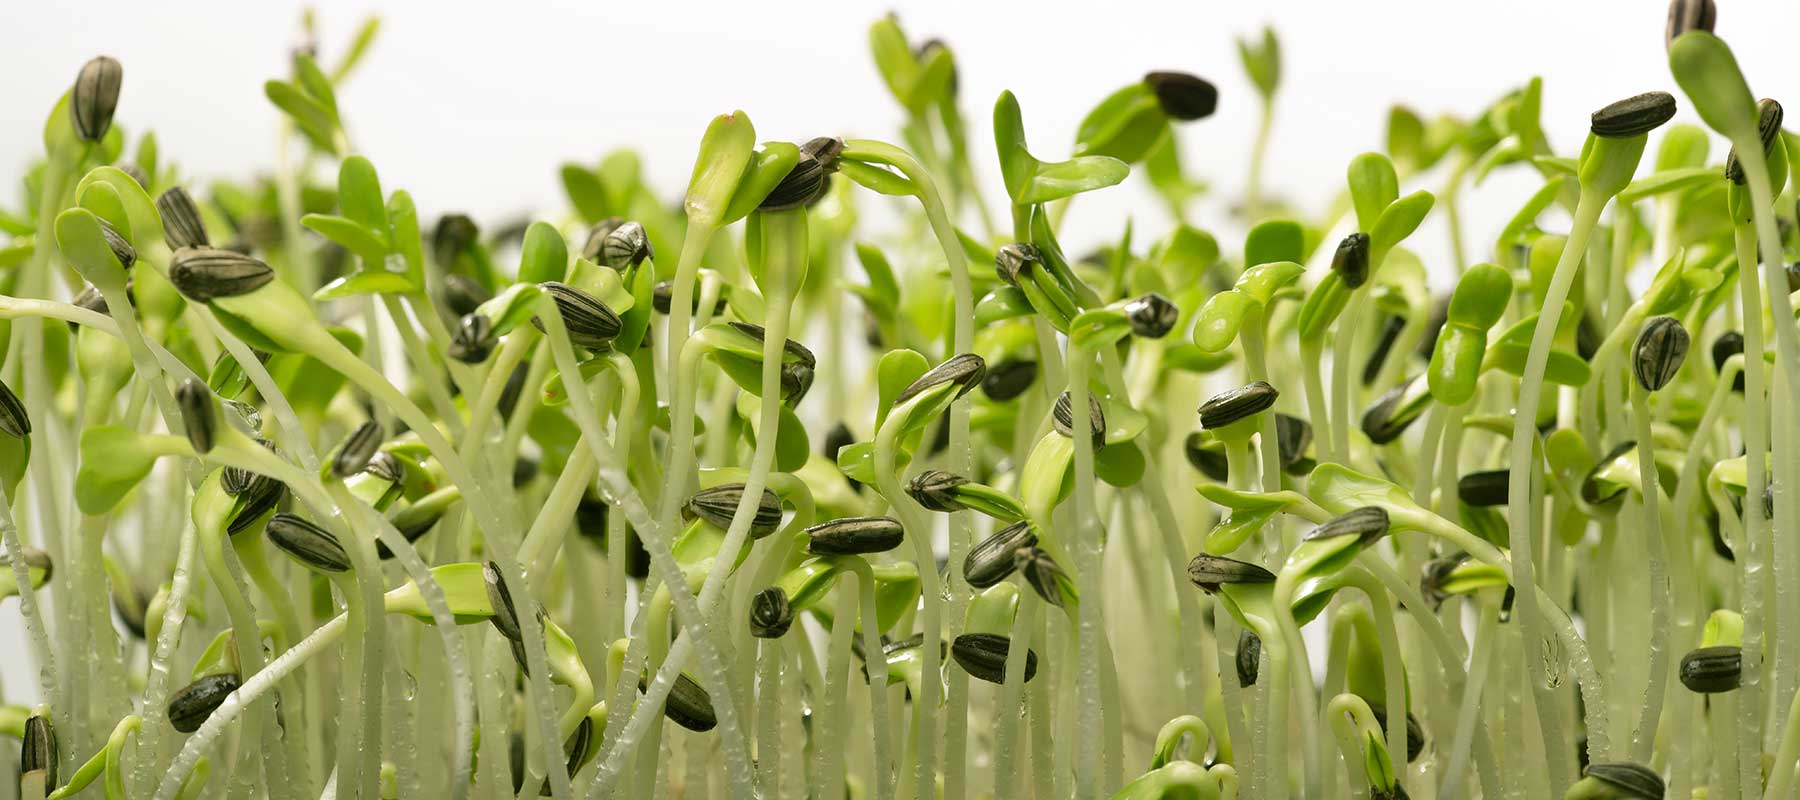
Microgreens are young, edible seedlings with their first set of “true leaves.” They are grown in soil or soilless media. They are harvested with scissors, taking the whole upper portion of the plant. After they are harvested, microgreens will not grow another set of leaves.
Baby greens are leafy greens that are grown normally in containers or in the ground. They are harvested after the plant is more established, but still at the baby stage. Only a portion of the plant is harvested, while smaller leaves are left to develop on the plant. In this way, baby greens are a “cut and come again” option.
Equipment for Growing Microgreens
Of course, you can always buy something premade with soil discs and trays, but it’s so easy to put together your own microgreen growing kit. In the DIY spirit, here are the basics:
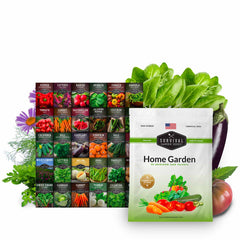
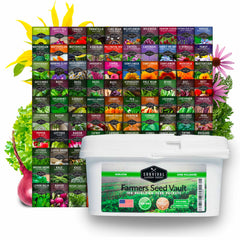
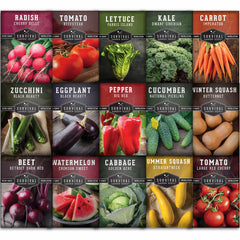
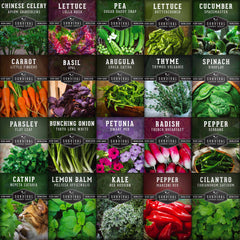
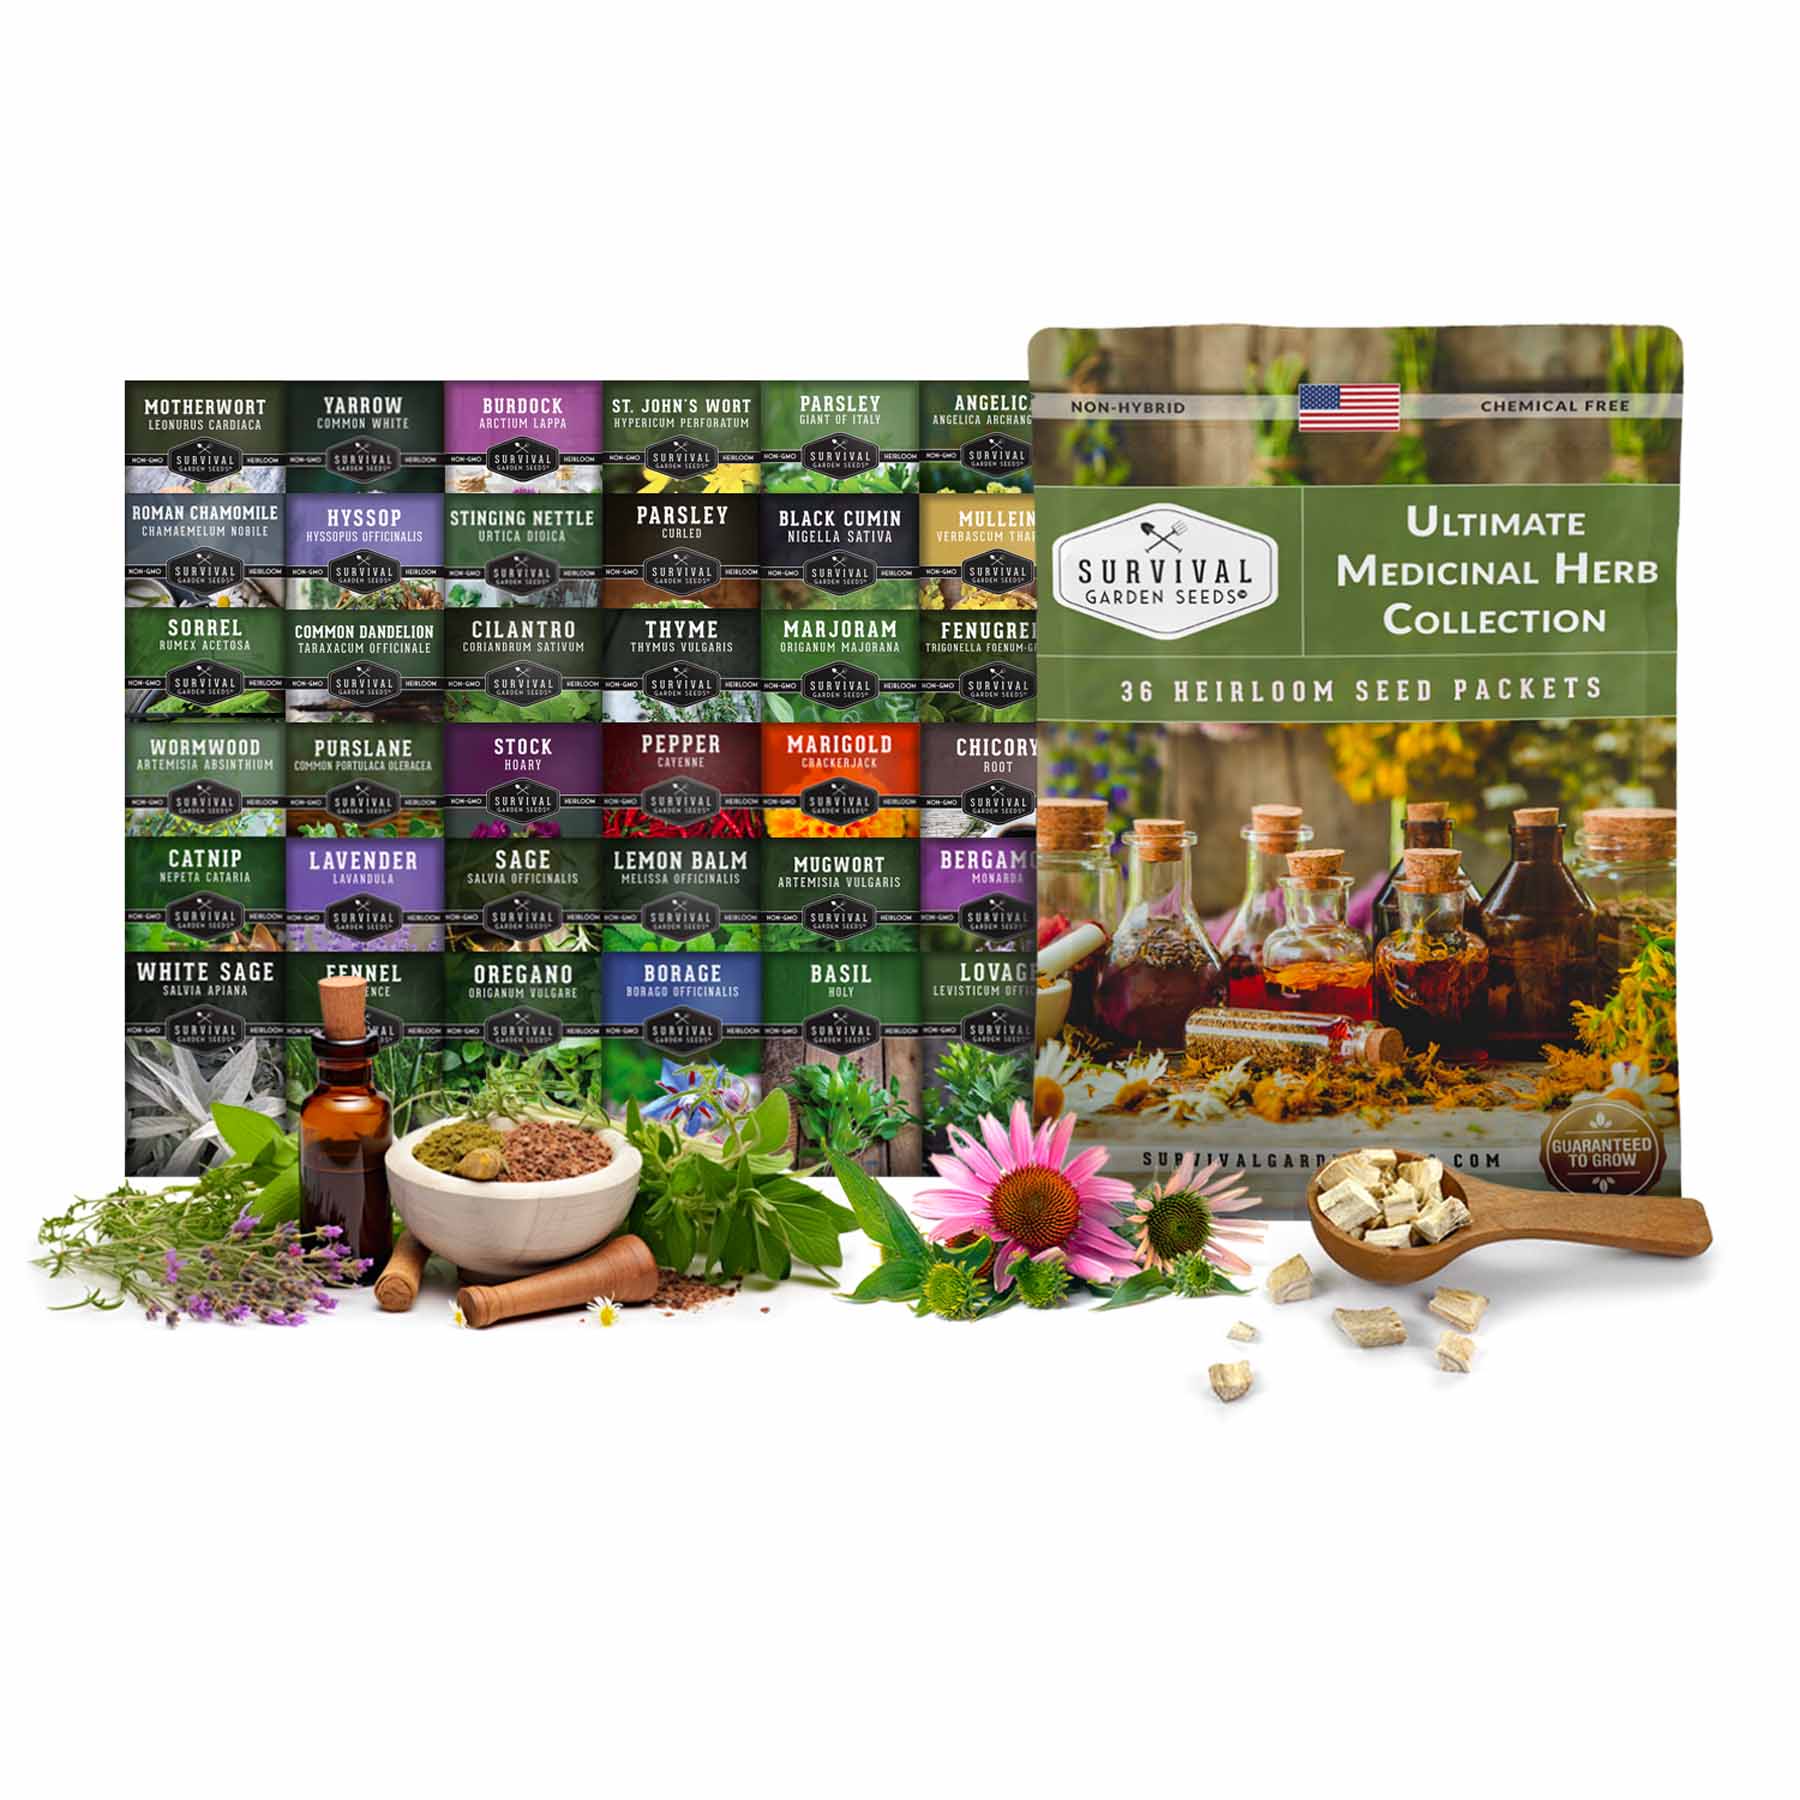
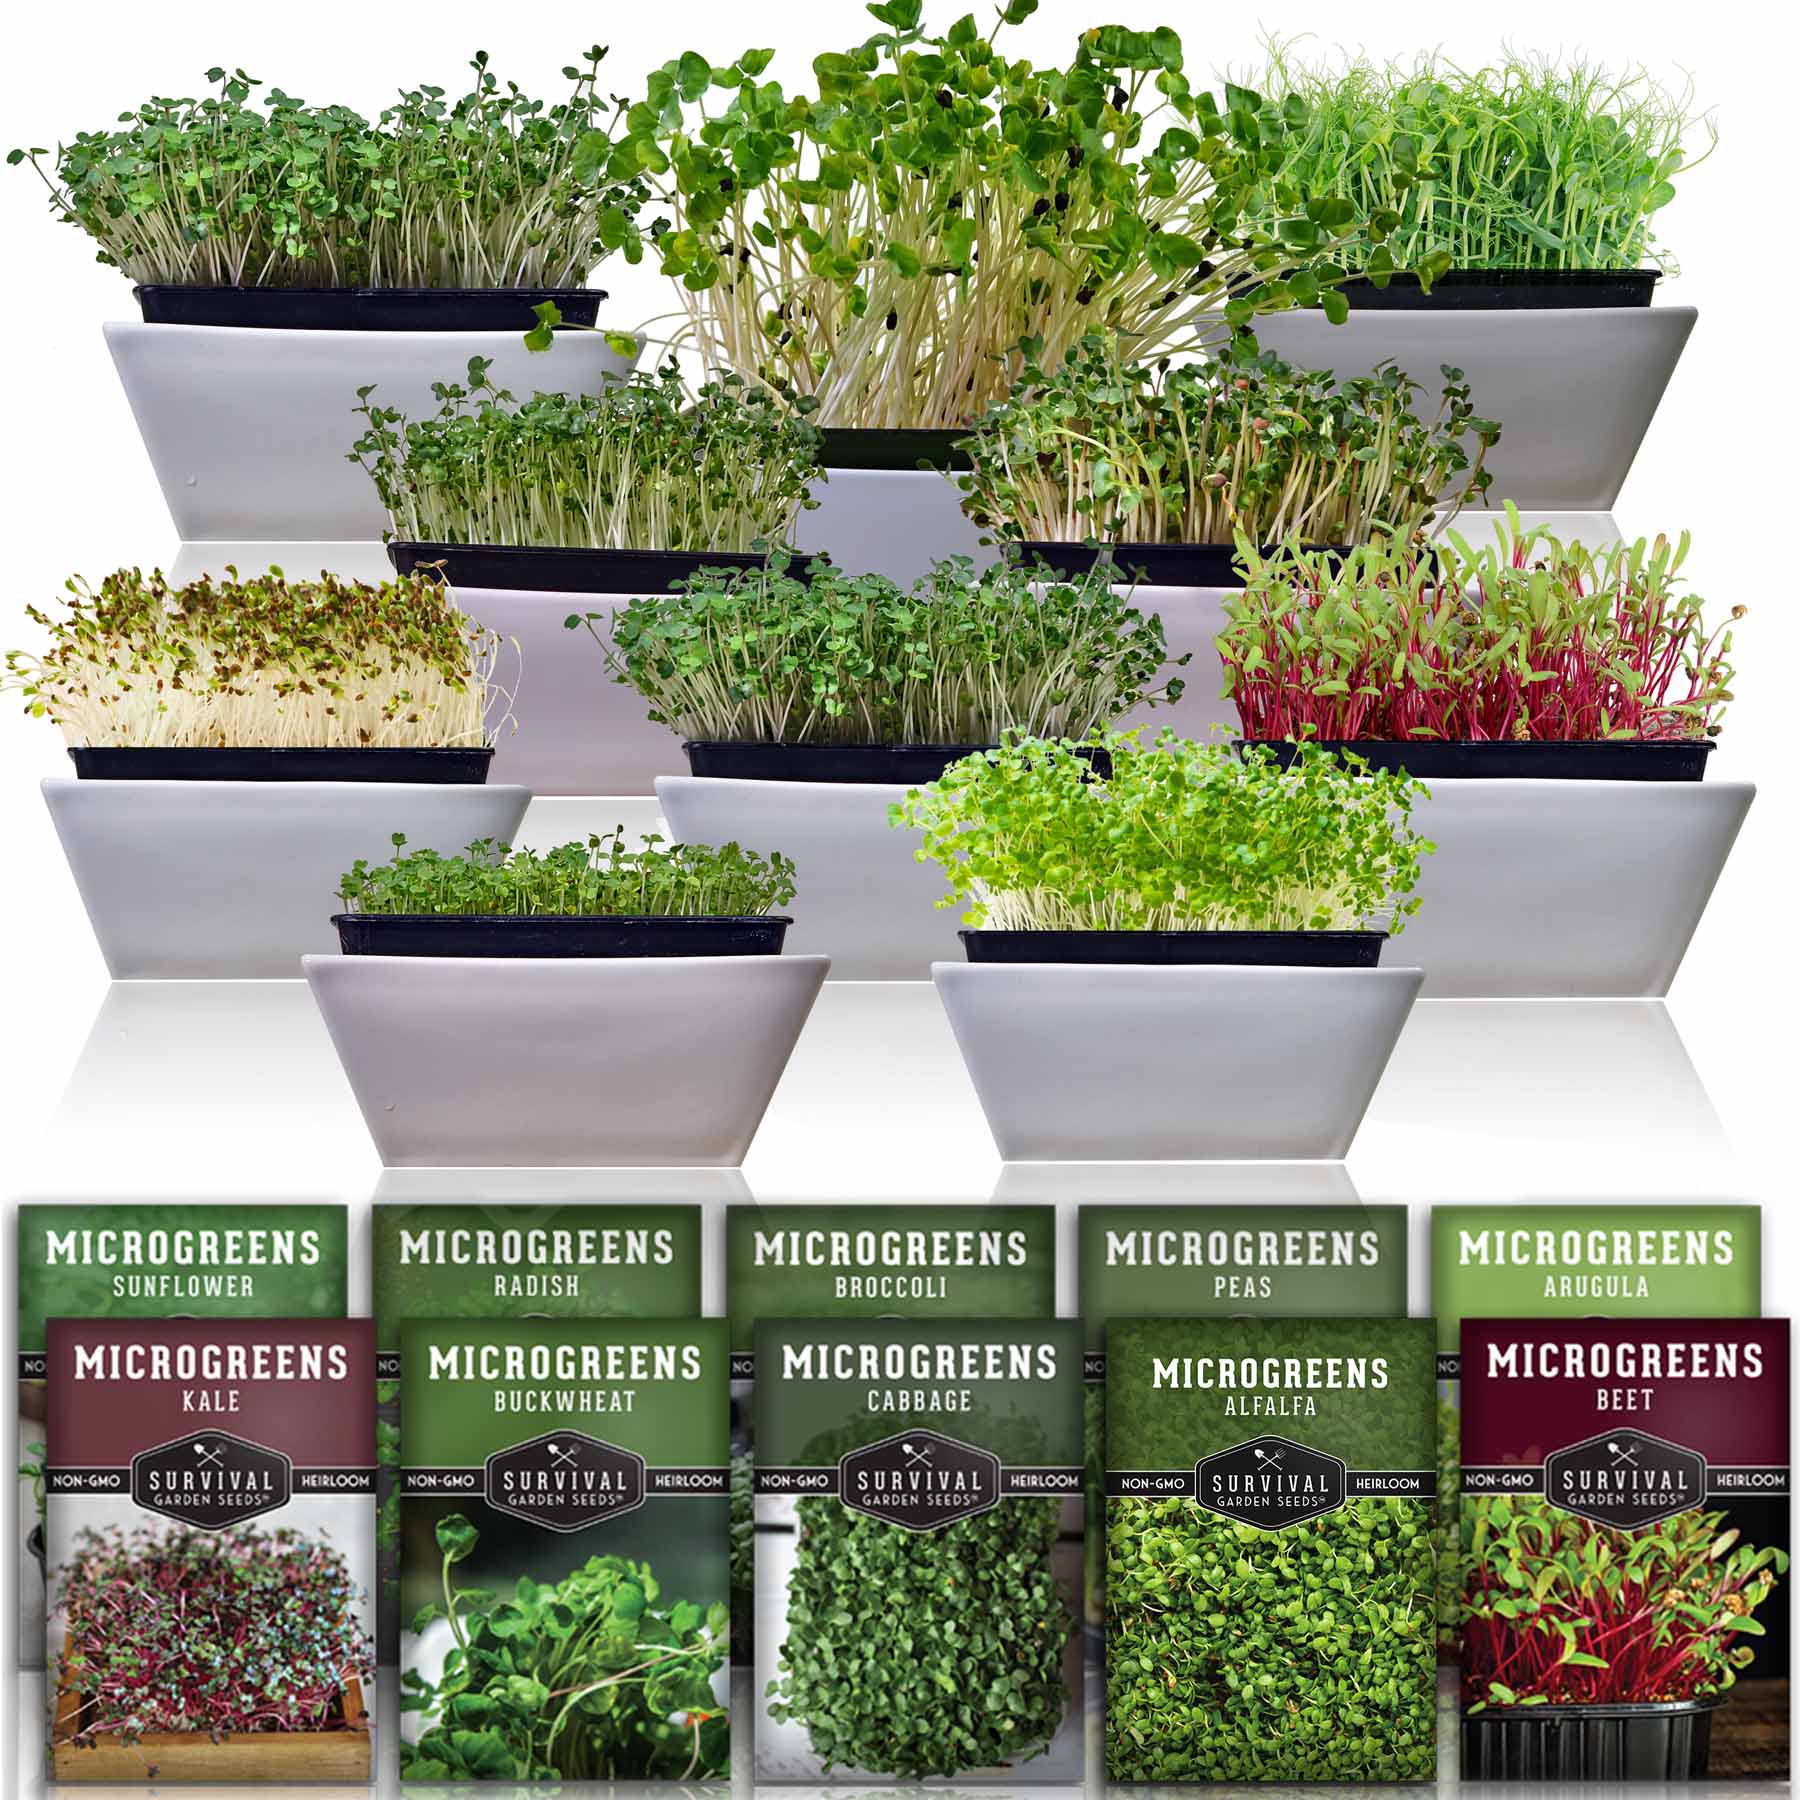
- Seeds- This part is easy! If you’d like to try a variety of different microgreens, we suggest our Microgreen 5 Pack or our Microgreen 10 Pack.
- Trays- Standard growing flats work well, but feel free to work with what you’ve got on hand. One option that’s easy to get is to use plastic food storage containers. Make sure to poke drainage holes and choose something deep enough for 1½” to 2” of growing medium.
- Covers- Growing flat domes, lids for your food container, or even wet paper towels can work in a pinch. You may also need a towel or cloth cover to block out the light.
- Growing medium - Sterile and light soilless mix works well. There are also other types of media available for growing microgreens, like woven textiles and foam
- Water mister- Misting is the easiest way to keep microgreen seeds evenly moist without disturbing them.
Optional equipment for growing microgreens. We’ve decided to put anything that requires electricity in this category. Technology is great when it works, but it’s good to know what you can do without in case the power goes out.
- Grow lights - If you’re growing microgreens indoors, extra light can help your seedlings green up after the blackout period.
- Heat mats - These are convenient for keeping root zone temperatures consistent, especially if you’re growing in an area that gets chilly.
- Fans- It’s important to keep microgreens well-ventilated. Circulation fans can definitely help with this, especially if you’re growing a lot at once.
- Grow Rack - Really love microgreens and want to have a lot going at once? A dedicated grow rack, raised platform, or a hanging bench might be worth it.
Microgreens can also be grown outdoors directly in the soil.
How to Grow Microgreens Indoors

We’ll walk you through what you need to know to grow any type of microgreens. The specifics will vary from seed to seed, but knowing the basics will give you a good head start.
Presoaking: Some seeds require presoaking for quick germination. Your package will specify if this is necessary or not and how long it should take.
Planting: Sprinkle seeds over a shallow layer of potting mix, and lightly cover with a little more potting mix. Seeds should be sown fairly densely.
Water: Mist your seeds lightly so they aren’t disturbed. Bottom watering is also an option to keep seeds from becoming dislodged. Keep seeds and seedlings evenly moist, but do not overwater.
Blackout Period: Cover your tray or container completely to block out all light. This can be done with a tea towel or any cloth you have handy. Keep seeds covered for the duration of the listed blackout period.
During the blackout period, applying even pressure to the seeds can improve your results. This can be done by stacking trays on top of each other or putting a weight on top of the lids.
Introduce Seeds to Light: At the end of that period, expose them to either direct or indirect light as indicated to allow the seedlings to develop color and grow.
Harvest: When your microgreens are ready, harvest them as needed with a pair of scissors.
Microgreens are best eaten raw for full flavor and nutrition. Puree them as a pesto, add them to your salads and sandwiches, or throw some in a smoothie. If you have more than you can eat, dehydrate them for adding to soups and other dishes later. They’re a perfect addition to your emergency food stores.