


Bee balm is one of those plants that makes your garden feel alive. Bright flowers, constant pollinator activity, and that light herbal scent, it all comes together quickly.
But here’s where many gardeners go wrong: they grab the first seed packet they see and hope for the best.
What makes the difference between a thriving patch and a frustrating season is picking the right bee balm seeds and preparing them properly. If you choose the right bee balm plant you will get strong plants, steady blooms, and lots of pollinators
How to Choose the Best Bee Balm Seeds
The best results start with choosing the right seeds for your goals.
Key factors to consider before buying
Before buying, ask yourself:
- Do you want a pollinator garden?
- Are you planting for looks or function?
- Do you want something low-maintenance?
Your answers will guide your choice. Also, think about plant size. Some bee balm grows 3–4 feet tall, while others stay compact. Choosing the wrong size can make your garden feel crowded or unbalanced.
Wild bergamot vs cultivated bee balm seeds
There are two main options:
- Wild bergamot (Monarda fistulosa) → hardy, drought-tolerant, spreads easily
- Cultivated bee balm (Monarda didyma) → brighter colors, needs more care
Wild bergamot is better for natural or low-maintenance gardens. Cultivated types are great for color and structure, but need more attention.
Matching seed type to your garden goals
Choose based on what you want:
- Pollinators → red varieties attract hummingbirds
- Native garden → wild bergamot works best
- Herbal use → wild types are often preferred
Matching your goal to the plant saves time and effort later.
Climate and growing zone considerations
Bee balm grows well in many climates, but not all types perform the same.
- Hot, dry areas → choose wild bergamot
- Humid areas → choose mildew-resistant varieties
- Cooler climates → most types grow well>
Always match the plant to your environment.
What to Look for in Quality Bee Balm Seeds
Seed quality has a big impact on success.
Seed freshness and viability indicators
Fresh seeds grow better.
Look for:
- Recent packing or test date
- Dark, firm seeds
- Proper storage (cool and dry)
Avoid old or poorly labeled seeds.
Germination rates and reliability
Good bee balm seeds should have a germination rate of around 60–70% or higher.
In real conditions, expect slightly less.
Plant more seeds than you need to improve your chances.
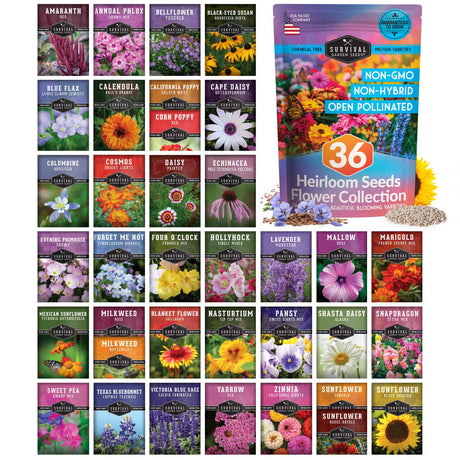
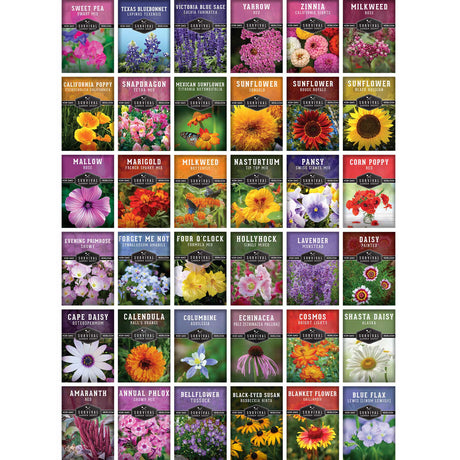
Heirloom vs hybrid seed differences
Heirloom seeds:
- Can be saved and replanted
- Stay consistent over time
Hybrid seeds:
- May have special traits like disease resistance
- Do not grow true from saved seeds
For most home gardeners, heirloom seeds are the easier choice.
Packaging, labeling, and storage quality
Good packaging protects seeds from moisture and light.
Look for:
- Clear labeling (species and variety)
- Germination info
- Proper storage packaging
Avoid vague or poorly labeled products.
Where to Buy Bee Balm Seeds
Where you buy your seeds matters.
Buying from reputable seed suppliers
Choose suppliers that specialize in seeds or native plants.
They are more likely to offer:
- Accurate labeling
- Fresh seeds
- Better germination rates
This gives you a stronger start.
Online vs local garden centers
Both have benefits:
- Online → more variety and options
- Local stores → easier to check freshness
A mix of both often works best.
What to expect from product descriptions
A good listing should include:
- Plant type and species
- Height and spread<
- Bloom color and timing<
- Growing conditions
If details are missing, it’s a red flag.
Avoiding low-quality or mislabeled seeds
To avoid problems:
- Stick with trusted sellers
- Avoid very cheap seed lots
- Read reviews focused on growing results
This helps you avoid wasted time and effort.
Preparing Bee Balm Seeds for Planting
Preparation is key to good germination.
Basic seed preparation techniques
Bee balm seeds often need cold stratification.
To do this:
- Mix seeds with damp sand or soil
- Place in a sealed bag<
- Refrigerate for 30–60 days
This helps break dormancy and improve germination.
Improving germination success
After stratification:
- Plant seeds on the soil surface
- Press lightly (do not bury deeply)
- Keep soil consistently moist
Seeds need light to germinate.
Soil readiness before planting
Bee balm grows best in:
- Well-drained soil
- Moderate fertility
- Slightly acidic to neutral pH
Adding compost improves results.
Tools and materials needed
You only need basic tools:
- Seed trays or pots
- Seed-starting mix
- Spray bottle
- Light source (window or grow light)
Simple setups work well.
Common Buying Mistakes and How to Avoid Them
Avoiding mistakes saves you time and frustration.
Choosing the wrong variety for your needs
Always check plant size, growth habit, and care needs. A mismatch leads to poor results.
Ignoring pollinator-focused varieties
If your goal is to support pollinators, choose the right types. Native and single-flower varieties usually perform best.
Buying low-viability seeds
Old seeds often fail to grow. Check dates and buy fresh whenever possible.
Not considering climate compatibility
Not all varieties handle heat, humidity, or drought the same way. Match seeds to your local conditions.
Growing Bee Balm with Confidence
Growing bee balm from seed is simple when you start with the right foundation.
Choose quality seeds, prepare them properly, and give them the right conditions.
Start small, observe how they grow in your garden, and adjust as needed.
Once established, bee balm becomes one of the most rewarding plants you can grow. It brings color, supports pollinators, and returns year after year with very little effort.
If you’re building a garden that’s both beautiful and useful, bee balm is a great place to start.