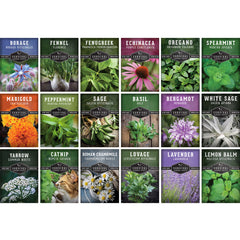
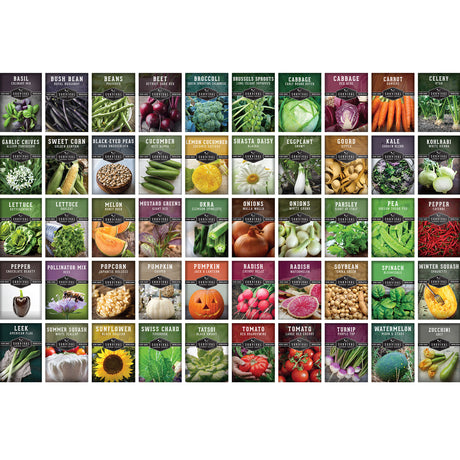
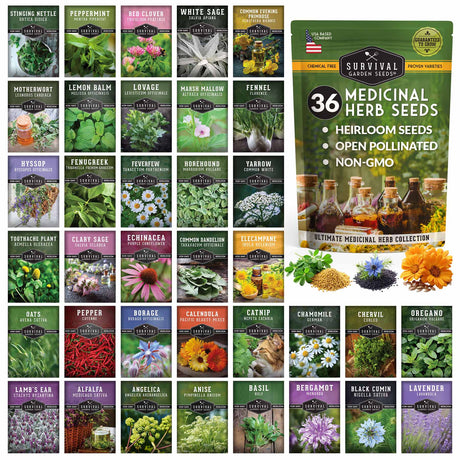
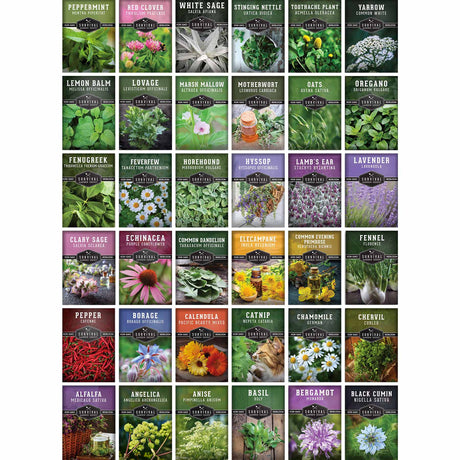
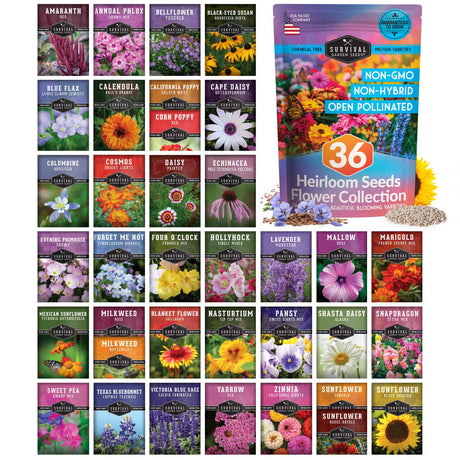
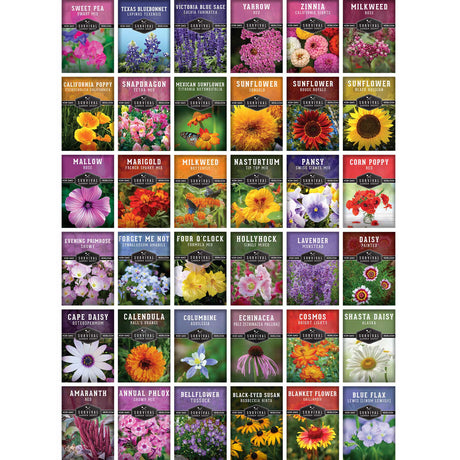
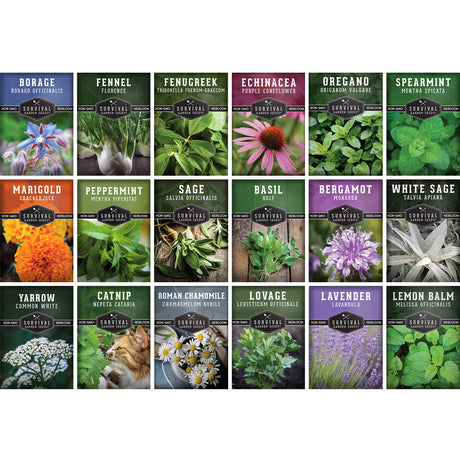
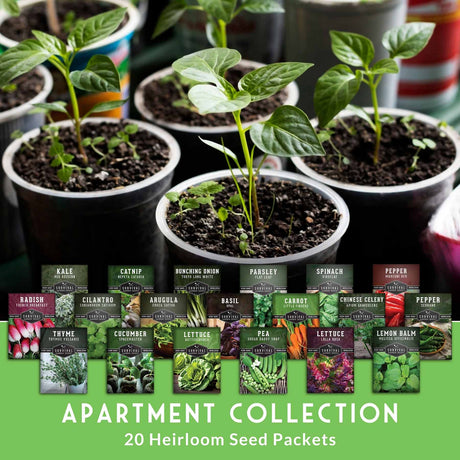
We’ve planned our garden layout, we’ve chosen our seeds, and now it’s time to think about planting them. While it may still be deep Winter in many areas, there are some seeds that can be started indoors now and in the near future.
Why Start Seeds Indoors?
There are several reasons why some seeds should be started indoors.
- Because the plant requires a longer period of time to produce results
- Because the plant may not be native to your locale and need extra care for germination
- To extend the growing season of a particular plant
- There are many varieties that you can grow from seed that may not be available as plants from your local gardening shop
Many people will start tomato and pepper seeds indoors because they only produce fruit when the days are long and the weather is hot. By starting the seeds indoors, you will have more mature plants to put into your garden when the weather warms up and will be able to harvest produce sooner
Eggplants are another example of a plant that is best started indoors. Eggplant is a tropical plant and takes between 70 and 90 days with nighttime temperatures over 70 degrees to produce fruit. This makes it a challenge to grow in the northern part of the US. Many people grow eggplants indoors or in a greenhouse for optimal success.
What Do You Need to Start Seeds Indoors?

Seed starting doesn’t require a lot of complicated equipment, although some modern tools greatly increase your success. At a minimum, you need:
- Quality seeds
- Seed starting mix
- Containers for the seed mix
Some additional equipment that you may want to invest in purchasing includes growing lights and a seed heat mat.
Seeds
You’ll want to start with quality seeds for the best chance of success. If you’ve got some older seeds laying around, or saved seeds from a prior harvest, you may want to consider doing a germination test to see how viable they are before planting.
An easy way to do a germination test is to count out 10 seeds and place them on a double-thick paper towel and roll it up. Get the towel just wet enough to stick to itself and place it in a zip lock bag leaving the end open so some air will flow and place it in a warm spot like the top of your refrigerator. Check the end of the paper towel every few days and spray with water if it’s drying out. Most seeds will germinate in 3 to 10 days. Unroll your paper towel and check to see how many seeds germinated. If it’s less than 6 of the 10 seeds, you might want to consider buying fresh seeds or sowing extra seeds to compensate for the poor germination.
Seed Starting Mix
Seed starting mix is not the same thing as potting soil. The seed starting mix contains no soil and is generally composed of peat moss. You can get a loose mix or many garden centers offer handy little pods already in containers. The seed starting mix will provide the ideal conditions for seeds to germinate. It provides the perfect balance between moisture retention and drainage and will minimize the risk of disease on your precious seedlings. Potting soil or garden soil doesn’t usually drain well enough and may contain plant disease spores that could damage your delicate plants.
Containers, Heat Mats, and Grow Lights
You can use just about anything as a seed starting container. The most important thing to take into consideration is drainage. One of the most common reasons for the failure of seedlings is the moisture level is either too high or too low. Again, the seed starting trays that you see in garden centers and catalogs are an efficient and easy option as they are specifically designed to provide the right amount of drainage for your seedlings.
Believe it or not, light isn’t something that is required for the germination of most seeds. All they need is moisture and heat. There are some exceptions, so be sure to check your seed packet. Most seeds will germinate at around 60 degrees Fahrenheit, so the room temperature of most homes is sufficient. Some seeds do need warmer temperatures to germinate. Rosemary is a good example of a seed that really wants at least 70 degrees Fahrenheit to germinate. In this case, a heat mat for seed starting would be useful.
Grow lights become useful after your seedlings have poked their heads above the soil. Grow lights can help provide a constant level of light during the shorter days of winter and will help prevent your seedlings from becoming “leggy” and weak.
When to Start
The key to knowing when to start your seedlings is knowing the last frost date for your area. We have a handy tool that will provide you with the last frost date by entering your zip code. Your seed packets should provide you with information about how long before that last frost date you should start your seeds. Some seeds, like most root vegetables (carrots, beets, radishes) do not transplant well so you would never start them ahead of time. Be sure to read your seed provider’s planting instructions.
How to Properly Sow Seeds

Make sure that your seed starting mix is nice and moist but not overly wet.
Be sure to check your seed packet for the proper planting depth of your seeds. Seeds planted too deep may need more energy to break through to the surface and seeds planted too shallowly may not develop strong enough roots. A good rule of thumb is to plant seeds at a depth that is two to three times the size of the seeds. Tiny seeds like tomatoes only need to be barely covered by soil, whereas large seeds like beans need to be planted about an inch deep.
Some seeds may need to be soaked prior to sowing because they have a thicker protective seed coat. Your seed packet should let you know if this is necessary. You’ll often find seeds like peas, corn, and squashes should be soaked prior to planting.
Sowing a couple of seeds in each container is safe since some may not germinate. You can always thin out the extras later.
After Sowing
Place your freshly sown seeds in a warm spot. The top of the refrigerator or near a radiator are good places. While you might be tempted to put them in a sunny window, remember that seeds don’t need light to germinate and windows can be cool and drafty. Check your seeds every day for signs of growth.
Seedling Care
Once your seedlings have poked their heads above the soil and you see a couple of leaves, it’s time to remove any cover you might have over your seedlings and find a spot for them with good light. You’ll also want to take them off a heating mat if you were using one.
Seedlings prefer a cooler environment with temperatures in the upper 60s F. This is the time when a grow light can come in handy to provide consistent light while keeping your seeds away from drafts. Steady light will help your seedlings grow strong and not get “leggy”.

Generally, seeds should receive 14 to 16 hours of sunlight (or artificial grow light) per day. It’s a good idea to mimic nature and turn the grow light on early in the morning and off around dusk. Your grow light should be about 3 inches above your seedlings. You will need to adjust this as they grow.
When your seedlings have 2 sets of leaves, it is time to thin them out. If you have more than one seedling in a container, choose the best one to keep and simply cut off the extras at the base and add them to your compost.
Now is the time to start fertilizing your seedlings weekly. Use half-strength organic fertilizer if you can. Keep your seedlings evenly moist, not wet, and don’t allow them to dry out, either.
There is great satisfaction in growing a plant from seed to harvest. It will allow you to grow varieties you may not be able to find as transplants in stores and will help you to ensure a successful harvest within your given growing season. All it takes is a little preparation and perseverance. Learn how to harden off seeds and move them outside in this blog post.

