SURVIVAL GARDEN SEEDS - SURVIVAL GARDEN GROWING GUIDE
How to Plan, Plant, Harvest and Store Your Survival Garden
PREPARING YOUR GARDEN
Choosing a location, preparing soil, cultivation
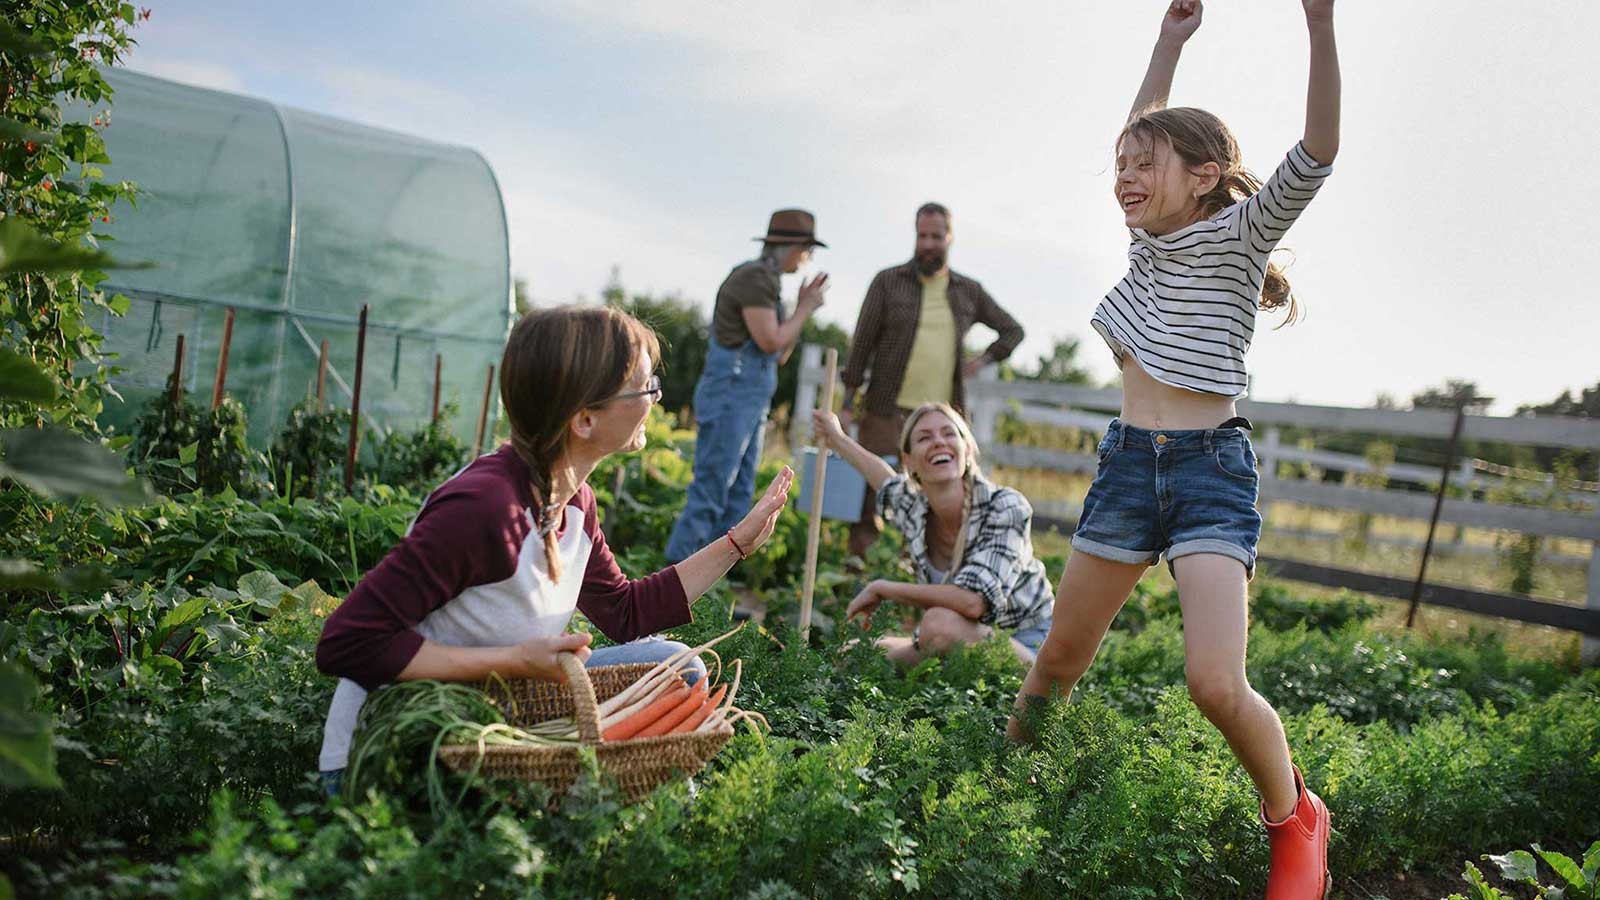
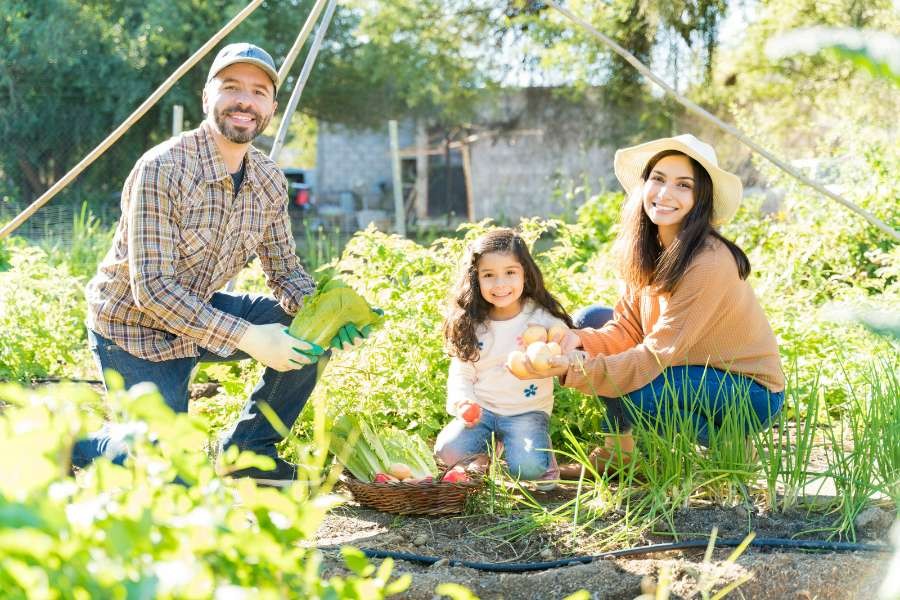
A successful survival garden is a big dream, but you can achieve it. Picture the abundance of healthy vegetables, fruits, grains, herbs, and medicinal plants. With this garden, you’ll be able to provide healthy, delicious food for your family throughout the growing season and beyond. Even in emergencies or widescale disasters, when supply chains fail and prices are sky-high, your garden will help protect your family and provide safety and security.
It’s important to visualize your goals, and it’s also essential to have a plan so you can achieve them. We’ve put together this growing guide to provide an overview for getting started. Our guide will help you know which way to go next and can help you stay on track if you feel overwhelmed with the details. We’ve also prepared a downloadable version that you can print out. We suggest you keep a hard copy with your seed bank and emergency supply kits, just in case.
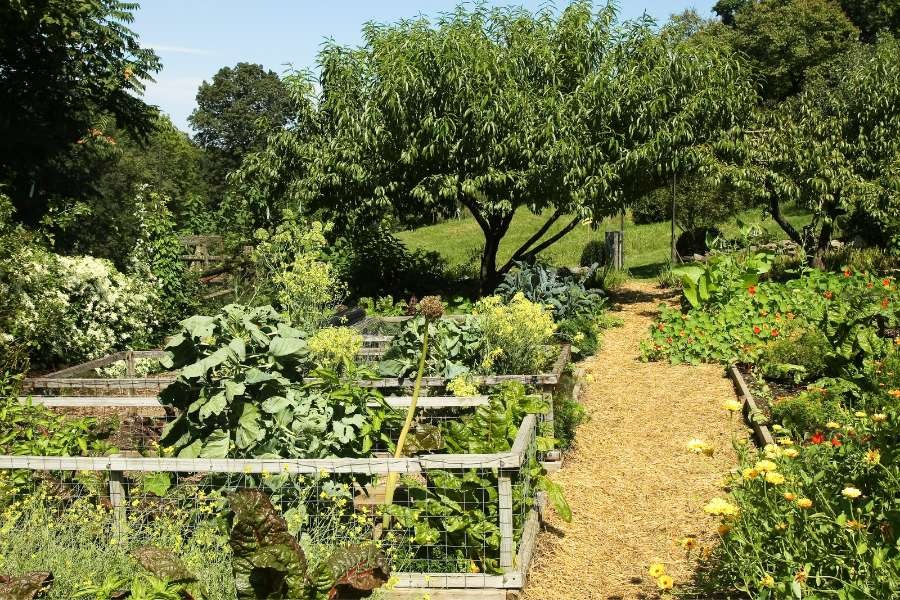
The Best Spot for Your Garden
Just like purchasing real estate, gardening is all about the location. You can change and control so many things, but the location is where it all starts.
Choose a spot that gets plenty of light.
Sunlight is the primary consideration for your garden location. Most fruits and vegetables need at least 8 hours of sunshine to produce, especially if they create a fruiting body. Without adequate light, your plants will not thrive.
Spend time noting where the shade lands in your desired location. It doesn’t have to be sunny all day, but if you have a choice, the morning sun with afternoon shade is best. If you’re growing indoors, choose a south-facing window and consider supplementing with grow lights if your plants don’t get enough light.
If your spot gets less than 8 hours, there are still options as long as you get at least 4-6 hours of sunlight. These plants may take longer to produce with lower light levels, so be patient. Shade-tolerant options include salad greens, leafy greens, cole crops, root crops, and leafy herbs.
Choose a location that is easy to access.
If you choose a location that is hard to get to, it will be harder to tend your garden, and it will be easier to neglect your plants. Out of sight, out of mind. Keeping a watchful eye on your garden helps with pest and disease control and consistent watering. Choose somewhere close to your home and anything you might need, like water sources.
Soil
Good garden soil comprises the right soil texture, structure, pH, and organic matter. Great soil is the foundation for healthy, disease-resistant plants.
Soil texture refers to the size of particles. Soil structure refers to how it clumps together. Sand has bigger particles and drains easily. Sandy soil will drain too quickly for the plants to absorb enough water. Clay particles are tiny and compact into dense, heavy soil that can retain too much water and drown or smother the roots. The ideal soil clumps together when squeezed in your hand but easily falls apart when you poke at it.
Adding compost and organic materials and working them in can improve the texture and structure of your soil, whether it’s sandy or clay. The nutrients will encourage the growth of micro-organisms, giving you rich fertile soil. Mulching the soil surface creates a layer that will slowly break down over time. These steps also will help you to achieve soil with a neutral pH.
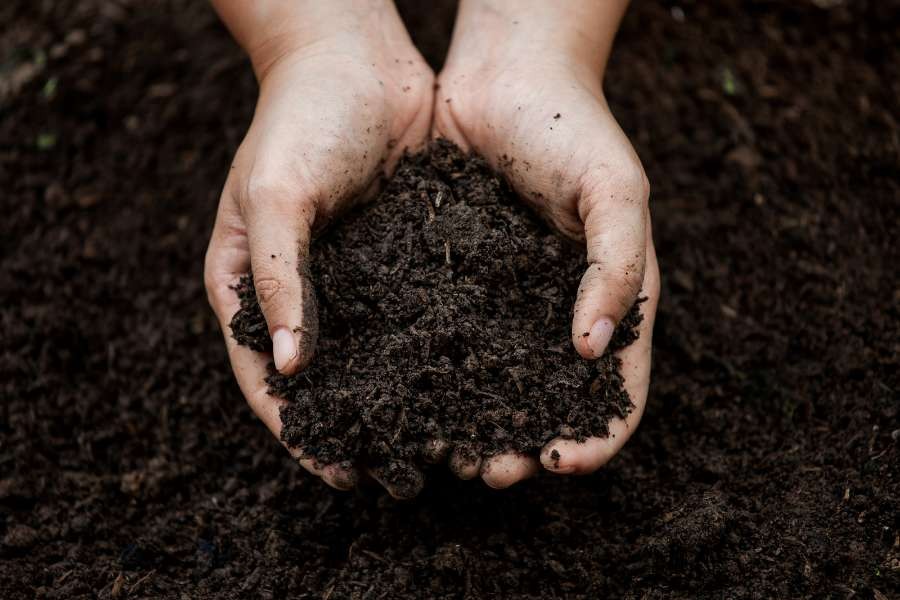
Soil pH tells you how acidic or basic the soil is. Most plants prefer neutral soil. You can test your soil pH with a testing kit from a garden center or contact your local Cooperative Extension Service to test your soil for a fee. Your local extension will provide detailed information about your soil’s pH, texture, and composition. They will also inform you of any possible contamination like heavy metals.
Once you know more about your soil, you can make amendments for a healthier growing environment. Lime and bone meal can help raise your soil’s pH if it’s too acidic. Sphagnum peat moss, nitrogen, elemental sulfur, and other additives can lower it if it’s too alkaline. Always follow instructions on how to use soil amendments for the best results.
Growing Medium for Container Gardens
Garden soil is not a good choice for container gardens. The growing medium for containers needs to be light, fluffy, and well-draining, while still providing enough moisture for plants to grow and flourish. Good potting mixes are made with this in mind, and may not contain any actual soil at all. They are a blend of organic and other materials including compost, coconut coir, sphagnum moss, perlite, and vermiculite. Potting soil is also sterile, which keeps bugs and fungus out of your containers. If you are in a situation where you have a limited supply, potting soil can be sterilized with steam or in an oven if necessary.
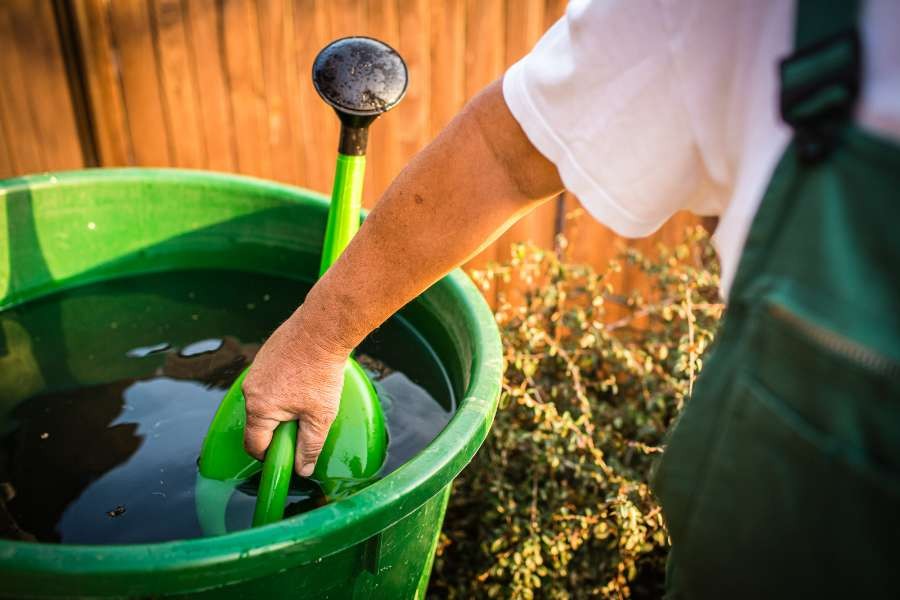
Water
Plants need water to move nutrients through the plant and to perform photosynthesis. Consistent watering helps plants thrive. Overly wet soil will encourage fungus and slugs. If the soil is too dry, your plants will be stressed.
The general rule of thumb is that vegetable gardens need an inch of water total per week, but not all at once.
-
If the soil is dry more than 1 inch down, it is time to water. Water enough that it soaks in about 6 inches.
-
Apply water directly to the roots. Watering the roots allows the soil to absorb the water slowly, conserving soil nutrients and minimizing evaporation or runoff.
-
Drip irrigation systems are watering systems designed to water roots efficiently and easily. Drip irrigation can be as simple as a soaker hose or as complex as an entire kit with hoses, nozzles, sprinklers, and tubes to deliver water to your plants.
-
If you have rows, you can set the hose to a low flow and let the water slowly run down the row and soak in.
-
Early morning watering is best for less evaporation. If leaves get wet, they can dry out during the day.
-
If leaves droop during a hot day, that doesn’t necessarily mean the plant needs water. Always check the soil first to prevent waterlogging your plants.
Consider using rain barrels or other water catchment systems to make the most of your water supply. These methods of capturing water are easy to set up and can provide you with a reliable water source even in times of rationing.
Soil Cultivation and Tilling
For plants to thrive, air, nutrients, and water need to penetrate deeply throughout. Cultivation is the process of breaking up compacted soil. Deep cultivation on heavily compacted soil may be necessary. You can do this with a rototiller or other means.
Surface cultivation. If you are adding compost or fertilizers, some shallow cultivation will help you work these amendments into the soil. Surface cultivation is also appropriate for loose soil that has crusted over, especially as you prepare your garden for new crops. Break up the top few inches of soil to mix in any soil amendments. Earthworms and microorganisms can help you fully integrate any nutrients deeper into the soil. Don’t cultivate when the soil is wet, as the soil can clump together and become even more compacted.
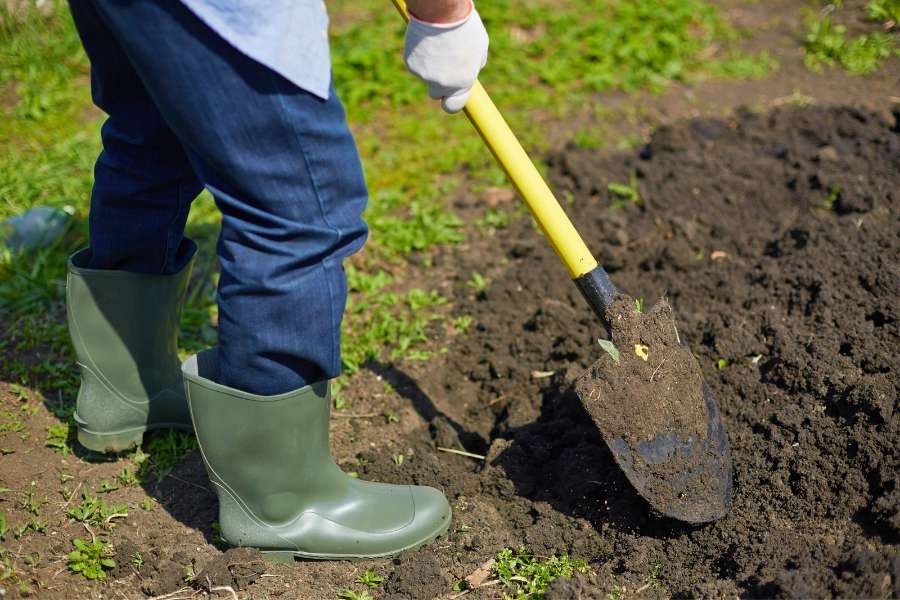
Double dig method. If you are starting with very poor soil, you may need to use the double dig method to break up the soil. This involves digging deep enough (18 to 22 inches) to bring up the topsoil and add organic material to the subsoil.
Dig a trench the depth and width that you want in your garden row. Place the topsoil in a pile. Then add organic material into the trench you have dug. Dig this material into the subsoil, mixing and aerating as you go, then add your topsoil and mix the two thoroughly. Avoid walking on the areas you’ve broken up to prevent compacting the soil. This method creates a deeper level of fertile topsoil.
Single dig method. Dig the length of the shovel, about 9 to 12 inches. Like the double dig method, you will place organic material in the trench and then cover it with the topsoil.
No-till farming. No-till methods are gaining popularity to decrease soil erosion and improve soil quality. If your soil is good quality and not very compacted, choosing a no-till method allows you to retain soil nutrients and protect the helpful ecosystems within the soil. One method is to use brown cardboard or newspapers (black print only) on the planned garden area, then cover that with organic mulch and wood chips. Over time this will break down, creating fertile soil that will not need digging. Cover crops can also be used for no-till farming. In this case, the new crops would be directly seeded into the decomposing residue of the previous plant matter.
By creating rows and pathways, you can avoid walking in the growing area and keep the soil full of air and micro-organisms. This will reduce your need to till and improve your soil, year after year.
PLANTING YOUR SURVIVAL GARDEN
Choosing seeds, starting seeds, transplanting seedlings
Choosing Your Seeds
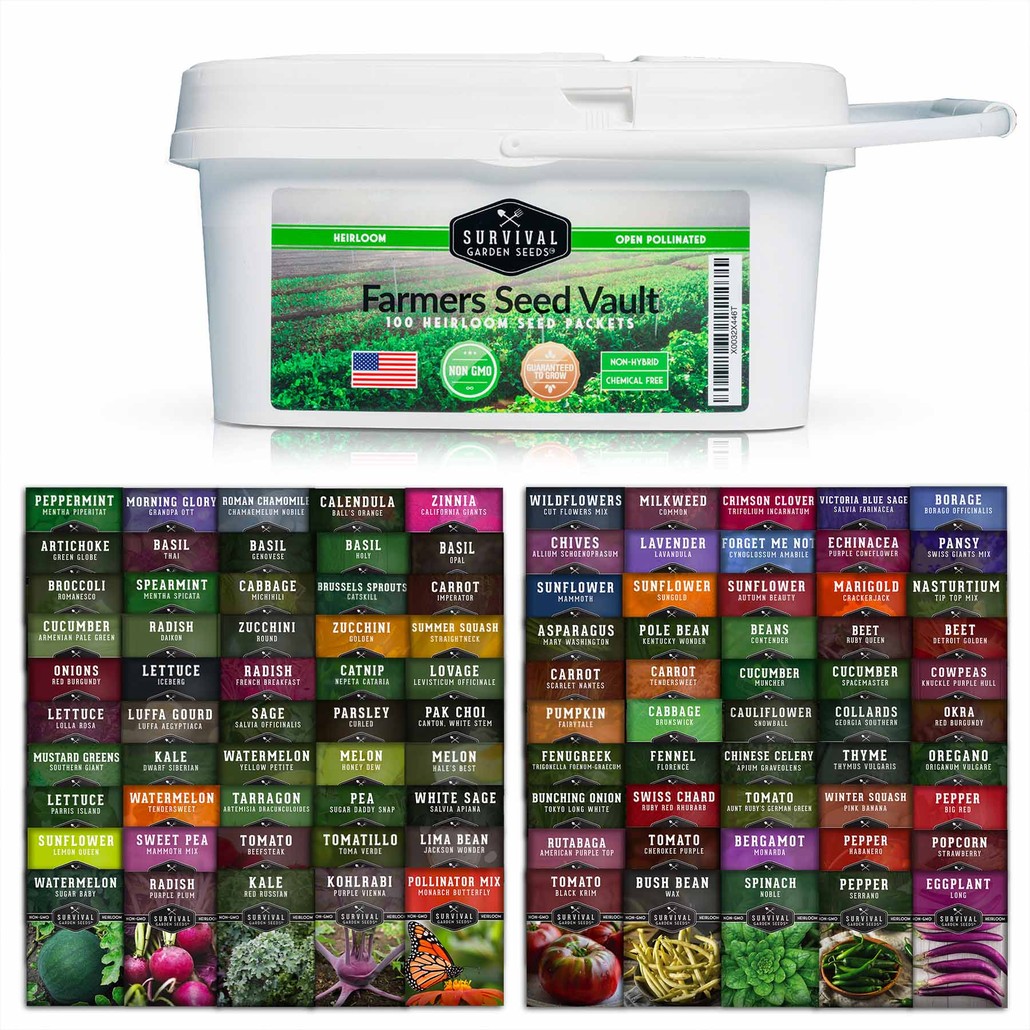
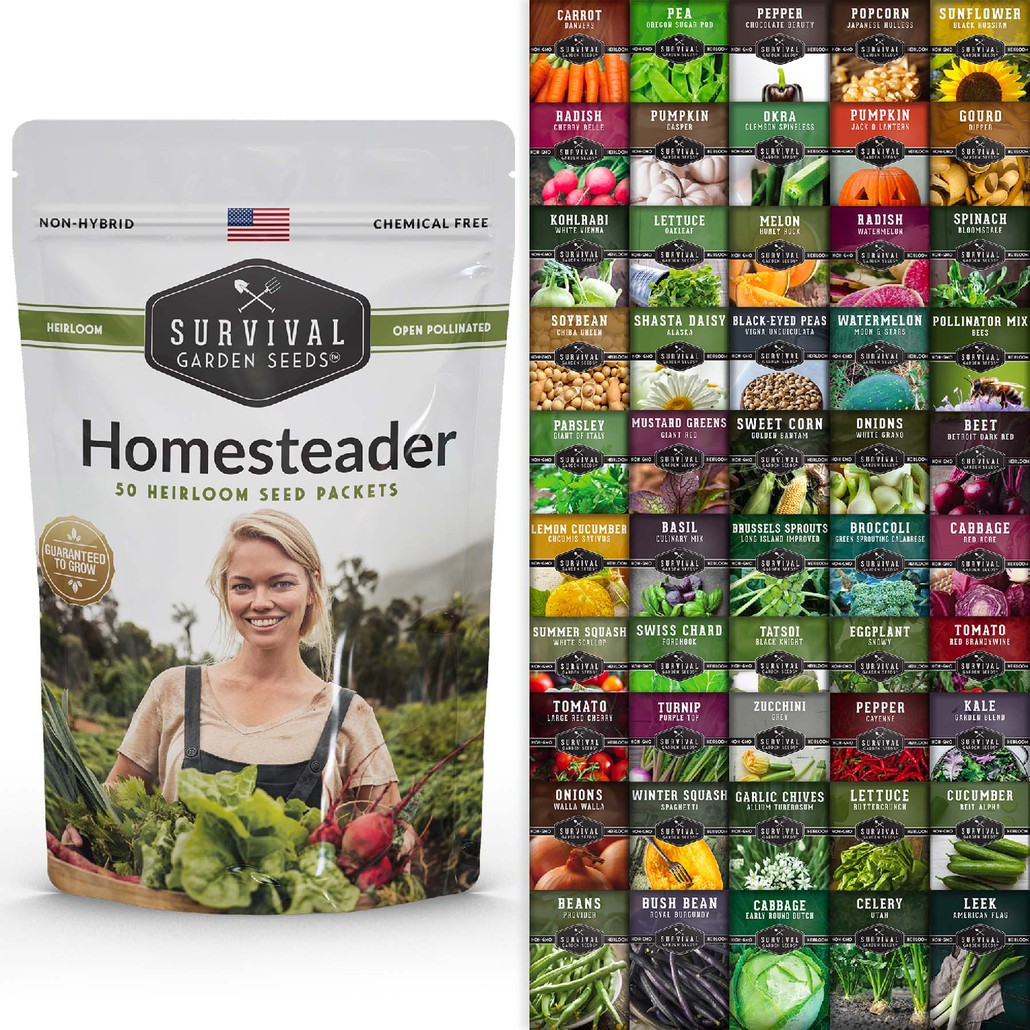
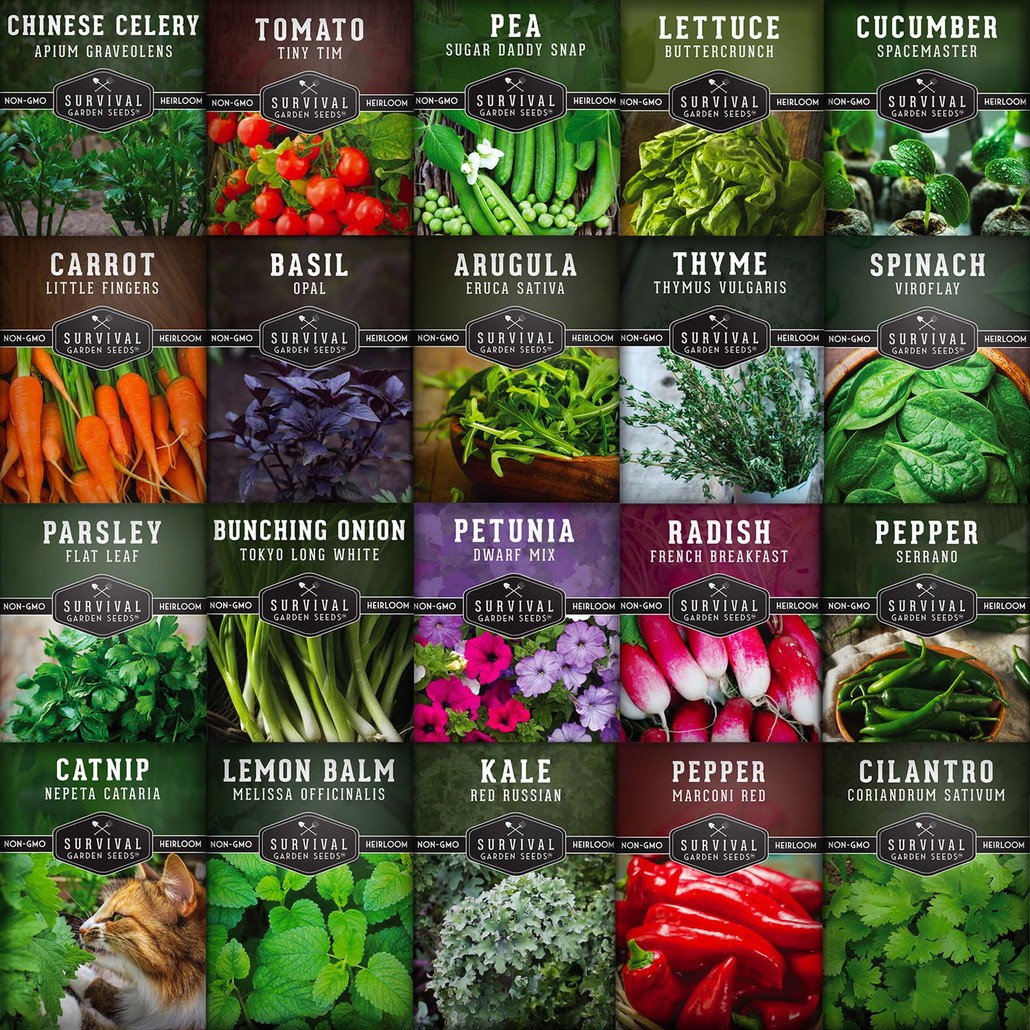
When you buy one of our survival seed vaults, you are on your way to creating a self-sustaining garden. Your specially curated packet of seeds is designed to give you a variety of seeds to meet your particular needs. These seeds will grow well and produce a harvest that can be stored to feed you and your family. With these heirloom, non-hybrid, non-GMO seeds, you can also save your seeds to plant next season.
Growing from seed allows you to have a greater variety of vegetables. It also allows you to start the seeds indoors and plan the perfect time to plant outdoors. This guide will give you an overview of the best gardening practices to get you up and growing in the simplest way possible.
The individual seed packets will give you specific instructions for each variety. With a little bit of planning, you will have a successful experience.
To learn more about choosing seeds and what all the different seed terms mean, check out our blog post: "Open-Pollinated, Non-GMO, Heirloom Seeds: What does it all mean?"

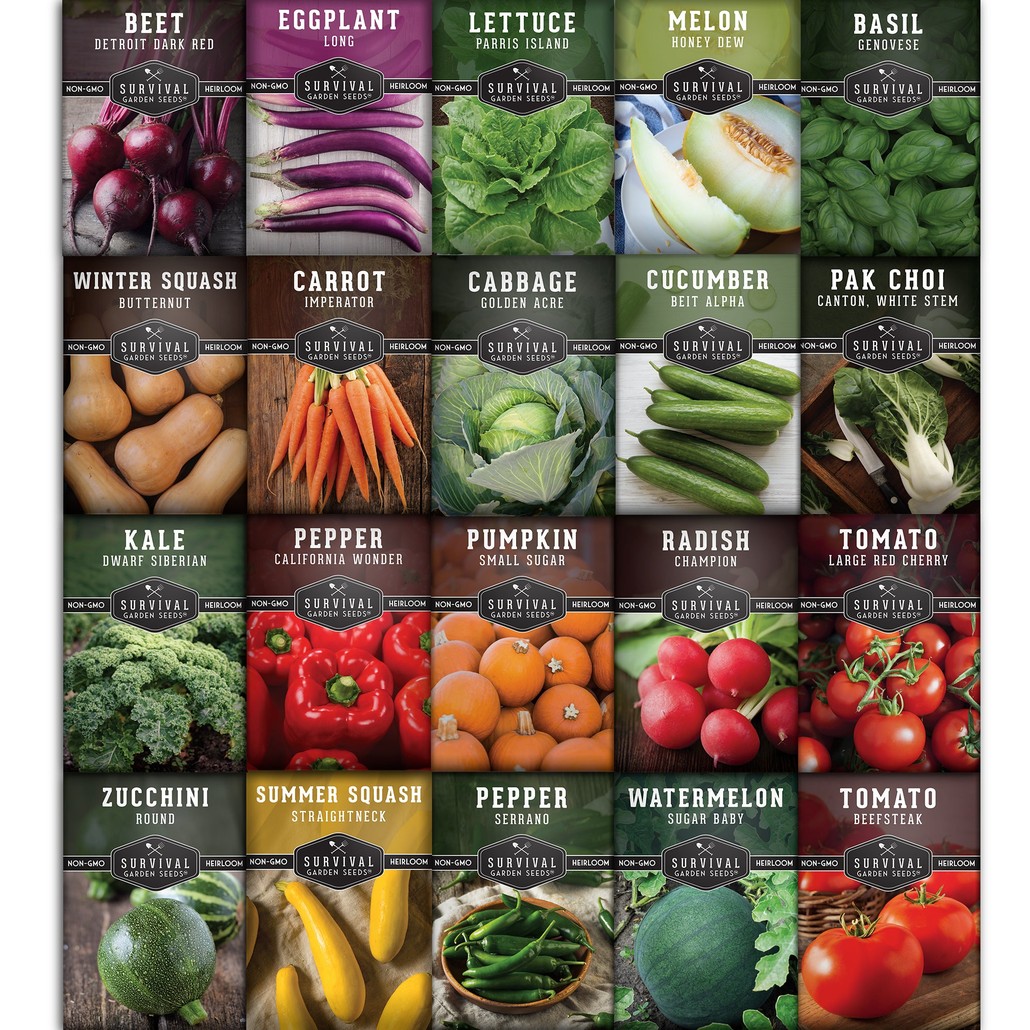
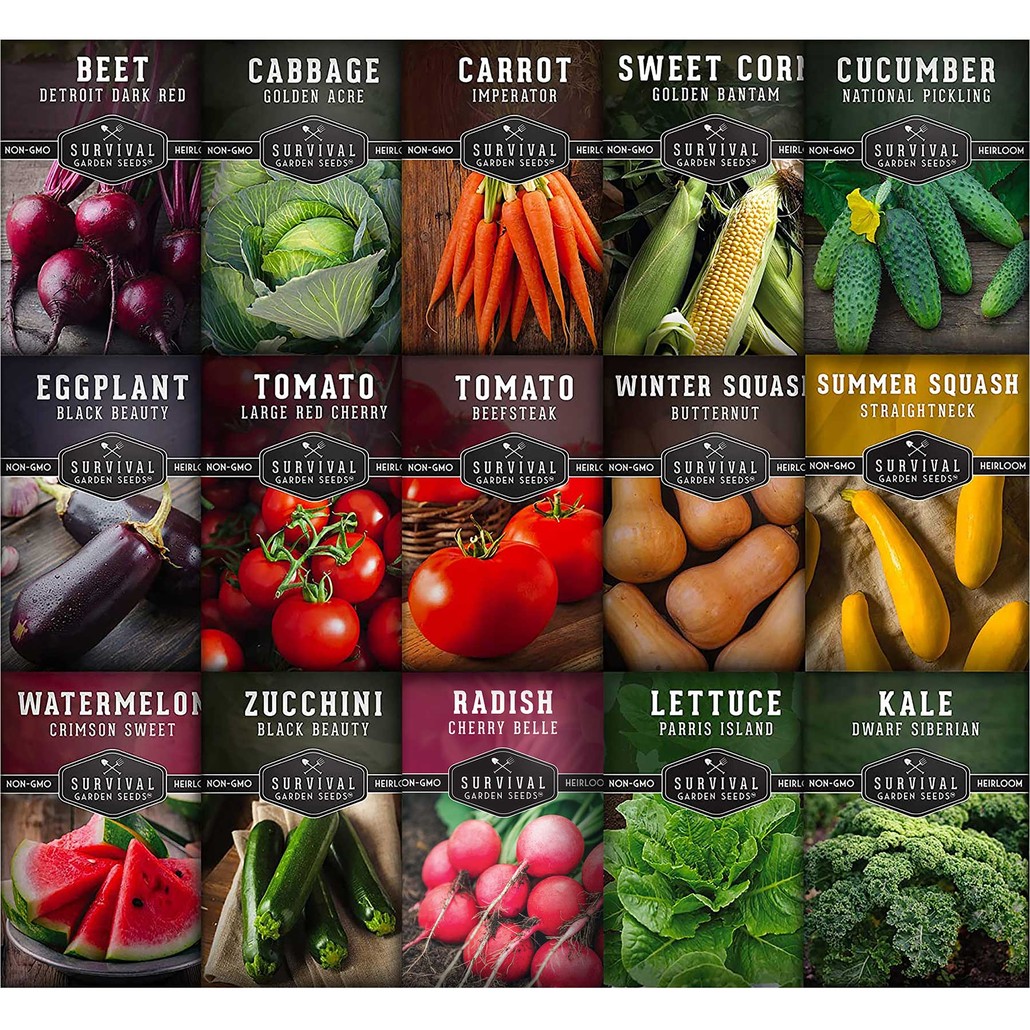
Vegetable Garden Collection - 15 Pack - Beets, Carrots, Corn, Tomatoes, Squash, Lettuce, Kale, Radish & Watermelon Seeds
$19.99
Direct Sow or Transplant?
The choice of whether to start seeds indoors or direct sow them outside often varies from crop to crop. Consult the back of your seed packets for individual recommendations.
When you start seeds indoors, you can control heat and light to create the ideal growing conditions for your seedlings, no matter what the weather is outside. You will also get a jump on the growing season. This is extremely helpful for seeds with a long growing season and gardeners in areas with shorter growing seasons.
Some seeds do better when directly sown outdoors. Carrots, beets, and other root vegetables have a taproot that can easily be disturbed, damaging the plant. Corn, okra, and beans are also difficult to transplant. These can be planted directly into the soil in the spring or fall as appropriate.
Starting Seeds Indoors
Following a few basic guidelines can help you have a successful seed-growing experience.
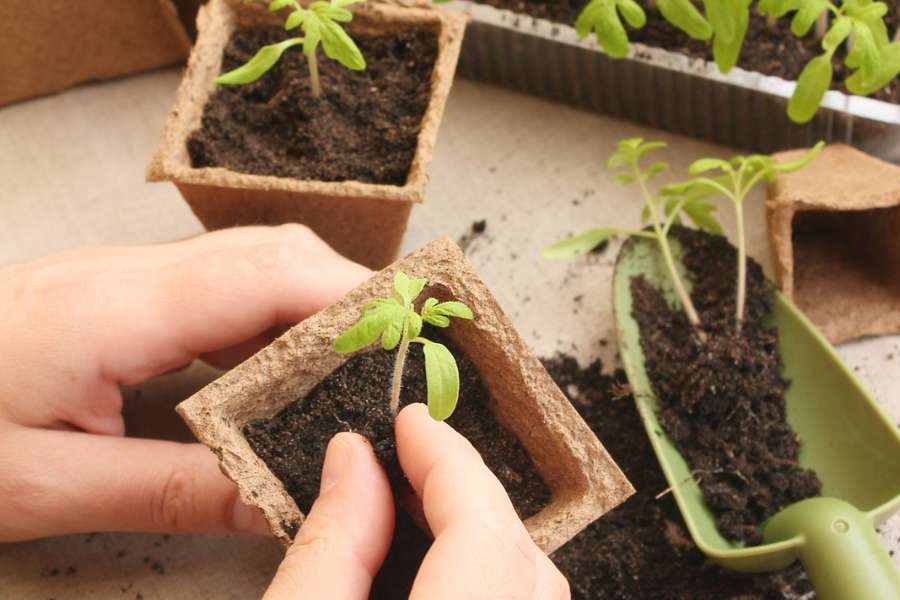
Start with clean pots, trays, or flats. If you are reusing containers, make sure you clean them with a bleach solution of 10% bleach to the water. Allow the pots to sit for 30 minutes.
Seeds need warmth and light, so you will need to have a place where you can control the temperature and use grow lights. Use a good growing medium that is appropriate for containers. It should be fine, loose, and well-draining. Mist the soil and follow the planting instructions on the seed packet.
Keep the soil moist by misting or bottom watering. Do not overwater. Keep the soil moist, but not overly wet. A clear dome placed over the container can keep the humidity high until the seeds start to sprout. Don’t put a dome in direct sunlight as it will get too hot. When the seeds sprout, you can remove the dome.
Once your seedlings start to develop true leaves, they’re nearing the transplanting stage. Consult your seed packets for precise information about when your seedlings are ready to harden off before transplanting. The tender seedlings need time to adjust to the harsher outdoor conditions. 1 to 2 weeks before transplanting, start acclimating your young plants to their new home. Place them outside for just a few hours a day in a sheltered spot out of direct sunlight. If it is windy or too cold, keep them inside. Slowly extend the amount of time they spend outdoors and increase their exposure to light. Eventually, they will be able to spend the night outside.
There are plenty of vegetables and herbs that can be grown indoors year-round. Check out our blog post "Indoor Food Gardening: A Winning Survival Strategy"
Extending the Growing Season
There are many ways to grow vegetables and herbs for a longer season.
The more you plant, the more you can grow. Many gardeners also do a second round of plantings right as their summer garden begins to fade.
Intercropping is mixing slow-growing crops with faster-growing plants. By planting this way, you can fit more vegetables into your garden. For example, dill and cilantro will sprout up quickly next to plants that take longer to grow, like broccoli and cabbage.
Succession planting is a way to stagger your harvest. This allows you to have a continual crop instead of all the plants being ripe at the same time. For succession planting, don’t plant all your seeds on the same day; rather, wait a few weeks between planting. Stagger plantings from 7 to 21 days. This way, you can enjoy seven heads of cabbage that don’t all need to be harvested simultaneously.
Don’t forget about cool weather gardens that can be grown in spring or fall. Radishes, spinach, and many cruciferous vegetables do well in cool weather and can give you yields in late fall or even throughout winter and spring. If you live in an area with a very warm climate, you may find that seeds that wilted in your warm summers perform better in autumn, as the temperatures begin to cool.
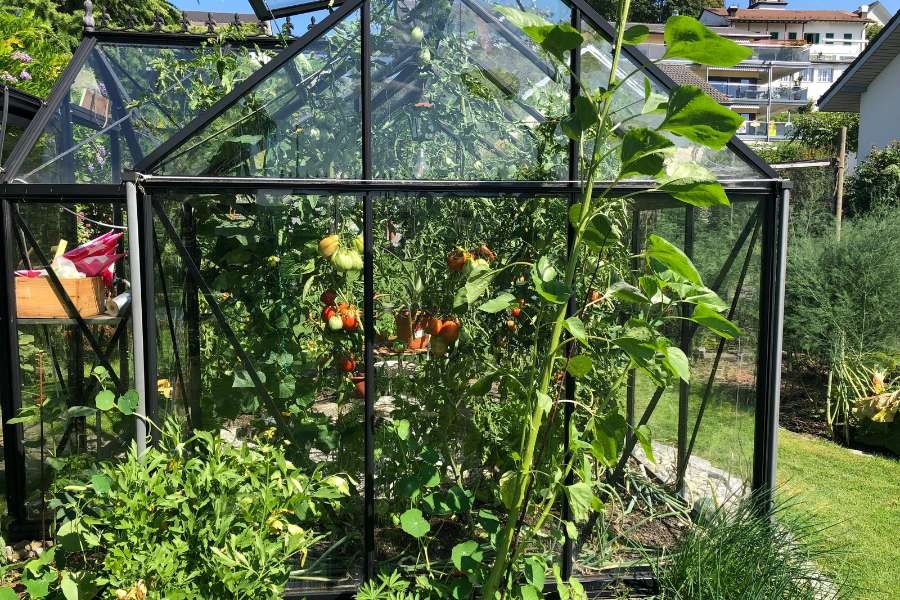
In the spring and fall, when cold snaps can damage your plants, makeshift greenhouses and covers can protect your harvest and extend the growing season. Covering your crops with sheets or lightweight blankets on nights when there is frost can protect plants. You can also plan ahead and have row covers that can be rolled out over hoops.
Learn more about cool weather gardens and over-wintering vegetables in our blog post "Over Wintering Vegetables and Herbs"
MAINTAINING YOUR SURVIVAL GARDEN
Growing your plants, protecting from weeds, pests and disease
Weed Control
Weeds are easier to manage if you can get ahead of the problem with prevention. A barrier to block their growth works well. When you are planning your garden, consider using landscape fabric. You can cut holes where you want to plant and keep weeds from growing everywhere else.
Mulch is another way to smother weeds. Untreated wood chips, shredded leaves, cardboard, paper, and straw all make good mulch for gardens. Use mulch on garden paths as well. Any bare spot is an invitation for weeds to grow.
Pulling weeds when they are small is easier than digging out a fullgrown weed. When you pull weeds, make sure you get the whole root. Keeping your garden weed-free also helps you to keep out pests and diseases.
Controlling Pests
You’re not the only one who wants to eat your vegetables! Careful daily watching helps to keep pests away. Pay attention to signs of nibbling or visits and take action quickly. Depending on your location, you may need fencing to keep out rabbits, deer, or other animals. Covering your plants with insect netting over hoops can also keep birds, squirrels, and insects from taking over your garden.
Caterpillars, worms, and bugs can all be picked off when noticed, so look early and regularly at the leaves of plants. Check underneath the leaves for eggs and wipe them off. Duct tape is a helpful tool to pick eggs off leaves.
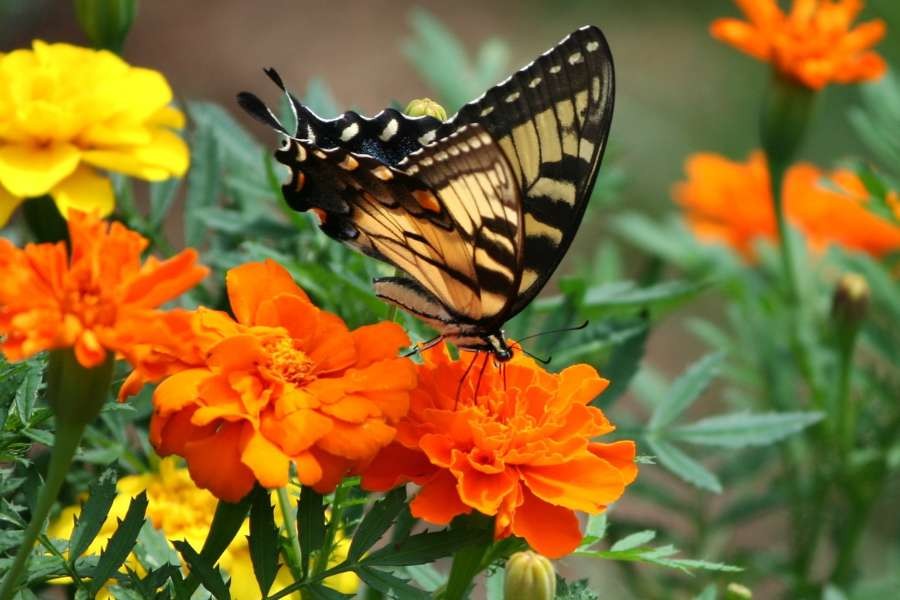
Companion planting is an excellent, non-toxic way to deter pests and attract beneficial pollinators to your garden. Flowers and herbs are generally good to add to your garden, and some are especially good pest deterrents. Marigolds, rosemary, sage, nasturtium, mint, lavender, and basil are all good choices to add to your garden.
There are some low-toxic chemicals you can use to control pests, too. Two examples are Bt (Bacillus thuringiensis) and neem oil. Whenever using any form of chemical pest control, follow the instructions exactly. Remember these chemicals can also harm beneficial insects, so you may want to save them as a last resort.
Learn how to deal with one of the more insidious garden pests, squash bugs in our blog post "How to Get Rid of Squash Bugs"
Controlling Disease
Your best bet for disease control is prevention. Following seed-growing instructions is important as it allows you to establish your plants and get them off to a healthy start. Keep your garden free of weeds and remove any diseased plants you do find immediately to protect your healthy plants. Mulching keeps the soil and your plants well protected. Don’t overwater your plants and make sure you’ve got good drainage. You also want to make sure you’re not overwatering your plants. Trellising climbing plants keep the fruits off of the ground and allow for good air circulation. Crop rotation is also an important part of disease control.
Crop Rotation
Ideally, you should only plant the same crop in the same place once every 3 years. This extends to other plants in the same family, too. The most important plant families to rotate are the brassica family (kale, cabbage, broccoli, cauliflower, and Brussels sprouts) the cucurbit family (cucumbers, gourds, melons, pumpkins, squash), and nightshades (eggplant, potato, pepper, tomato, tomatillo).
Crop rotation is extremely helpful for keeping pests and diseases at bay. If you plant the same type of plant in an area, a buildup of pests and diseases that target that plant family is likely. Crop rotation also prevents soil depletion. By planting a different type of plant every year, the soil can replenish lost stores from heavy feeding naturally.
Check out "Choosing and Planting Cover Crops" to learn how planting cover crops can restore nutrients as part of crop rotation
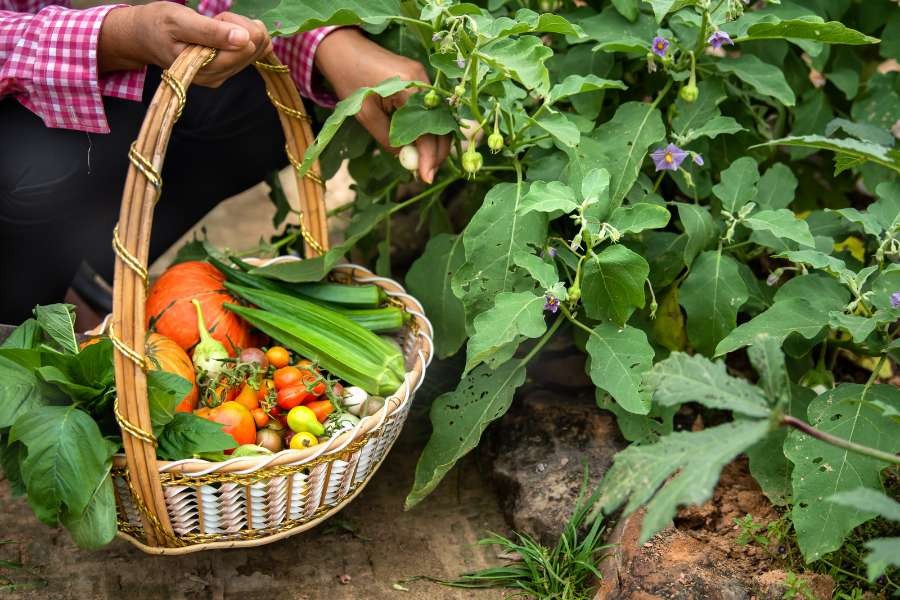
HARVESTING YOUR SURVIVAL GARDEN
Harvesting your garden bounty, storing your harvest, saving seeds
Harvest Time
Harvesting your produce is the most rewarding part of gardening. To truly enjoy the flavors of your garden, it’s important to know when a vegetable is at its prime. A little trial and error will help you figure out the right time to harvest. Most vegetables are ready for harvest when they reach a size and tenderness you can use. If your plant is ready to harvest, don’t delay. You will sacrifice both flavor and texture as the fruits get larger and go to seed.
Although you’ll quickly learn when to harvest your plants, here are some general guidelines to go by.
-
Okra is best when it is just 2-3 inches long.
-
Cucumbers, radishes, and summer squash are also best when they are young and tender.
-
Melons need to be harvested at the peak of freshness when they slip off the vine easily. Watermelon tendrils turn brown and die off before harvest.
-
Green beans are ready to harvest when the seeds inside the pod are not full size to prevent the pods from becoming stringy and tough.
-
Dry beans and cowpeas, however, can be allowed to fully mature and even dry on the vine.
-
On the other hand, tomatoes have the most flavor when allowed to fully ripen on the vine, but they also can be stored on the counter a bit longer if picked a little early.
-
Winter squash should be fully ripened on the vine as well.
-
Many green leafy vegetables and herbs can be harvested continuously, cutting a few leaves as needed.
Storing Your Harvest
You’re not the only one who wants to eat your vegetables! Careful daily watching helps to keep pests away. Pay attention to signs of nibbling or visits and take action quickly. Depending on your location, you may need fencing to keep out rabbits, deer, or other animals. Covering your plants with insect netting over hoops can also keep birds, squirrels, and insects from taking over your garden.
Freezing. This is one of the simplest and easiest ways to extend your harvest, but it does require access to a freezer. Most vegetables need to be blanched in boiling water for a few seconds and then plunged into cold water to stop the cooking process before freezing. By blanching your vegetables, you remove any dirt or organisms, halt the decay process and also preserve color, flavor, and nutrients. Tomatoes, onions, and potatoes do not need to be blanched before freezing but don’t forget to clean them first. Herbs can be frozen whole or in ice cube trays mixed with water or oil.
Drying. Dried vegetables and herbs are lightweight and portable, perfect for adding to your bug-out bag or travel supplies. They allow you to add some flavor and nutrition to your soups and dishes year-round. Carrots, broccoli, green leafy vegetables, celery, and onions can all be dehydrated. Peppers and tomatoes can be sundried or dehydrated. Drying herbs is easy and adds flavor all year. Vacuum packing these foods allows them to last longer, as exposure to air and moisture increases the chances of spoilage.
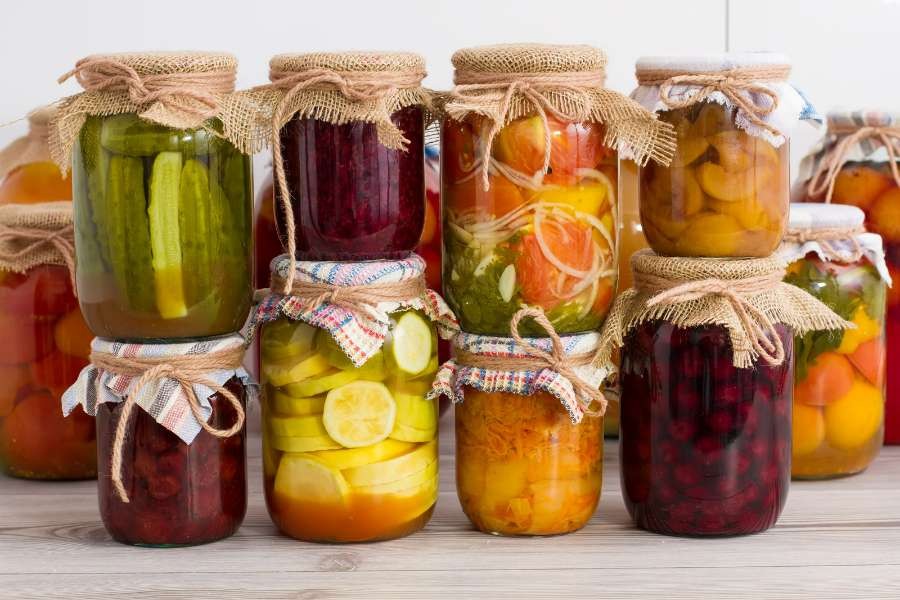
Canning. Hot water bath canning is only appropriate for high-acid foods like pickles and fruit, including jams, jellies, and preserves to prevent botulism. All low-acid vegetables need to be canned at higher temperatures in a pressure canner. Tomatoes are a borderline acid food, so any tomatoes should have citric acid or bottled lemon juice added if you are using a hot water bath method. Otherwise, pressure can your tomatoes to be safe.
Fermenting and pickling. Many vegetables are delicious fermented or pickled. Beets, okra, carrots, radishes, peppers, watermelon rinds, and cucumbers are all excellent options. Cabbage can be made into sauerkraut or kimchi for long-term storage.
Our Survival Garden Training Blog has several articles explaining techniques for preserving food. Check out:
Seed Saving for the Future
When you grow heirloom, non-GMO seeds, you can enjoy a delicious harvest and save the seeds for future crops. Your Survival Garden Seeds set you on a path to continue being self-sufficient for years.
Each Survival Garden Seed package contains instructions for saving that individual seed variety. The basic method of seed saving is to allow the vegetable to “go to seed.” Leave some vegetables on the vine and allow them to finish their development cycle. Ideally, these will come from your healthiest and most productive plants. When the vegetable seeds have fully developed, you’ll remove the seeds from the flesh and pulp. Clean and allow to dry completely. Then store in a cool, dry, and dark place. Remember to label your seeds with both variety and year, so you know which to use first.
Read more on our Blog:
You’re on your way to an exciting growing adventure. Remember that growing a garden takes patience and time. Keep an open mind, and learn from your mistakes. You can do this! These gardening basics will provide you with a foundation for creating a thriving, healthy survival garden that will bring you peace of mind, delicious food, and satisfaction in a job well done.
Get Your Free Growing Guide
Get a Printable FREE PDF copy of this growing guide. Simply enter your email address and we'll send you a link to download.