


Have you ever noticed that vegetables, fruits, and herbs that you grow in your home Victory Garden taste so much better than anything you can buy in the supermarket? Since produce has to travel extremely long distances, commercial growers often pick their produce early and use artificial ripening methods at the end of the supply chain. Only the most visually appealing vegetables and fruits make it to the shelves. Plenty of produce gets thrown away for being slightly irregular (“ugly”) or the wrong size for the shipping containers. Shelf stability and visual appeal are more important than flavor and nutrition for Big Agriculture.
When you grow for yourself, you can harvest your produce at the peak of freshness. You can also choose long-term storage methods to preserve freshness, texture, and flavor. Non-GMO, heirloom vegetable seeds grown at home can also yield a more flavorful and nutritious harvest, since the plants and seeds are not tweaked for marketing purposes. Survival gardens are also much less wasteful. No one wants to throw out a homegrown tomato just because it’s a little lopsided!
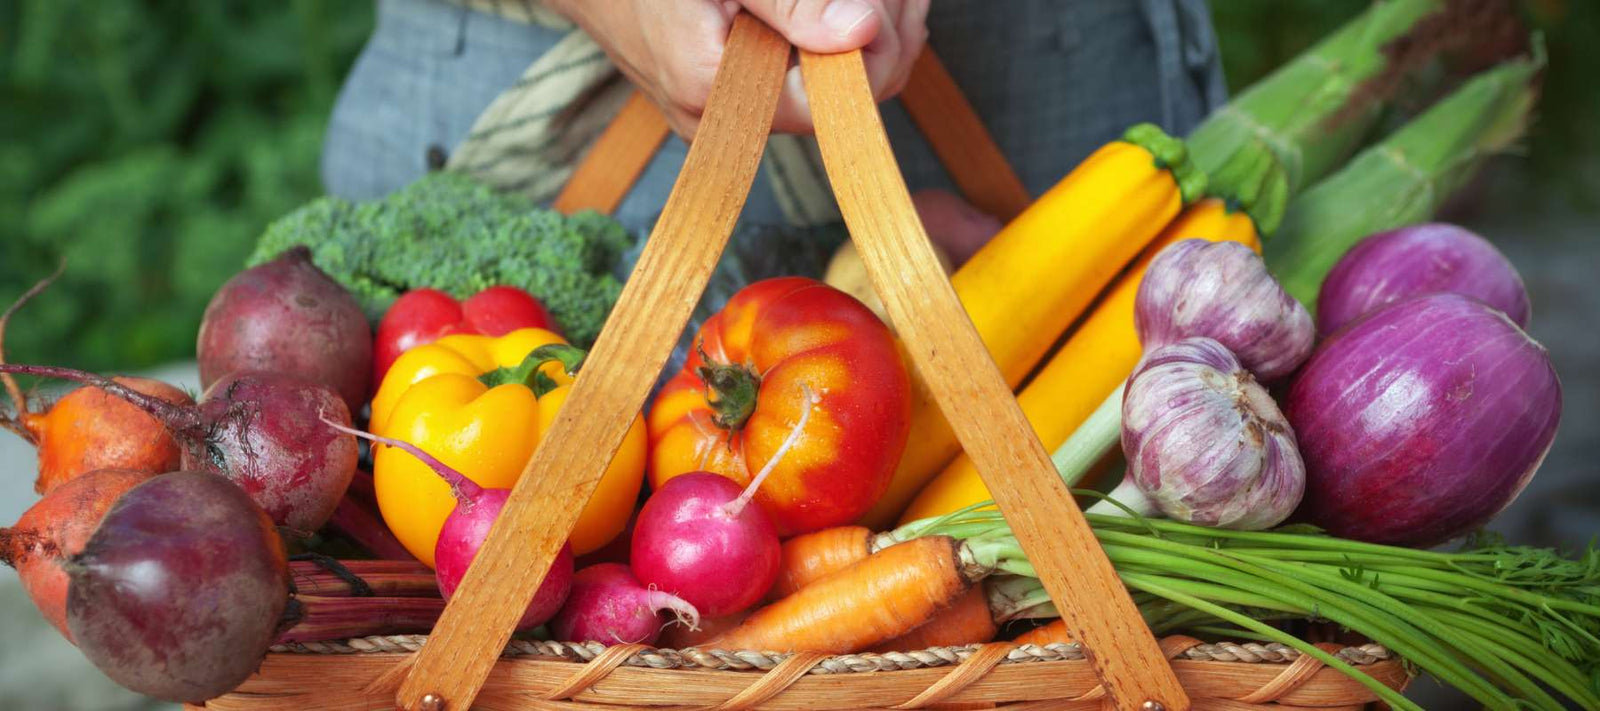
Let’s look at when to harvest and some ways to store it so you can enjoy the fruits of your labor for a long time.
Harvest
Harvesting your produce is the most rewarding part of gardening. To truly enjoy the flavors of your garden, it’s important to know when a vegetable is at its prime. A little trial and error will help you figure out the right time to harvest. Most vegetables are ready for harvest when they reach a size and tenderness you can use. If your plant is ready to harvest, don’t delay. You will sacrifice both flavor and texture as the fruits get larger and go to seed.
Although you’ll quickly learn when to harvest your plants, here are some general guidelines to go by. Okra is best when it is just 2-3 inches long. Cucumbers, radishes, and summer squash are also best when they are young and tender. Melons need to be harvested at the peak of freshness when they slip off the vine easily. Watermelon tendrils turn brown and die off before harvest. Green beans are ready to harvest when the seeds inside the pod are not full size to prevent the pods from becoming stringy and tough. Dry beans and cowpeas, however, can be allowed to fully mature and even dry on the vine. On the other hand, tomatoes have the most flavor when allowed to fully ripen on the vine, but they also can be stored on the counter a bit longer if picked a little early. Winter squash should be fully ripened on the vine as well. Many green leafy vegetables and herbs can be harvested continuously, cutting a few leaves as needed.

Storing Your Harvest
Long-term food storage is one of the biggest benefits and goals of a survival garden. Depending on the vegetable or fruit, there are many methods of preserving your harvest. Preserve your vegetables as quickly as possible after harvesting to preserve peak freshness and flavor.
Freezing. This is one of the simplest and easiest ways to extend your harvest, but it does require access to a freezer. Most vegetables need to be blanched in boiling water for a few seconds and then plunged into cold water to stop the cooking process before freezing. By blanching your vegetables, you remove any dirt or organisms, halt the decay process and also preserve color, flavor, and nutrients. Tomatoes, onions, and potatoes do not need to be blanched before freezing but don’t forget to clean them first. Herbs can be frozen whole or in ice cube trays mixed with water or oil.
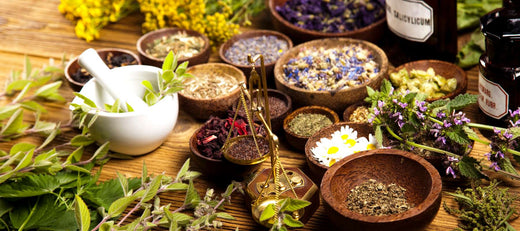
Drying. Dried vegetables and herbs are lightweight and portable, perfect for adding to your bug-out bag or travel supplies. They allow you to add some flavor and nutrition to your soups and dishes year-round. Carrots, broccoli, green leafy vegetables, celery, and onions can all be dehydrated. Peppers and tomatoes can be sundried or dehydrated. Drying herbs is easy and adds flavor all year. Vacuuming packing these foods allows them to last longer, as exposure to air and moisture increases the chances of spoilage.
Canning. Hot water bath canning is only appropriate for high acid foods like pickles and fruit, including jams, jellies, and preserves to prevent botulism. All low acid vegetables need to be canned at higher temperatures in a pressure canner. Tomatoes are a borderline acid food, so any tomatoes should have citric acid or bottled lemon juice added if you are using a hot water bath method. Otherwise, pressure can your tomatoes to be safe.
Fermenting and pickling. Many vegetables are delicious fermented or pickled. Beets, okra, carrots, radishes, peppers, watermelon rinds, and cucumbers are all excellent options. Cabbage can be made into sauerkraut or kimchi for long-term storage.
Seed Saving for the Future
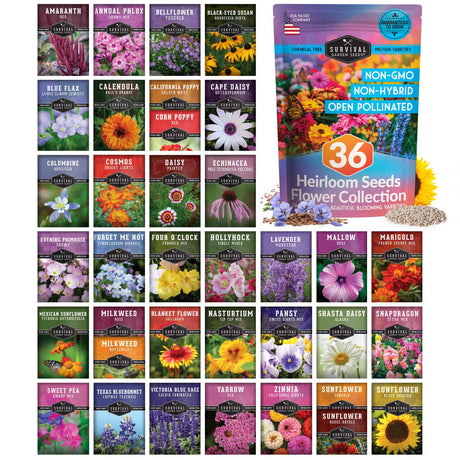
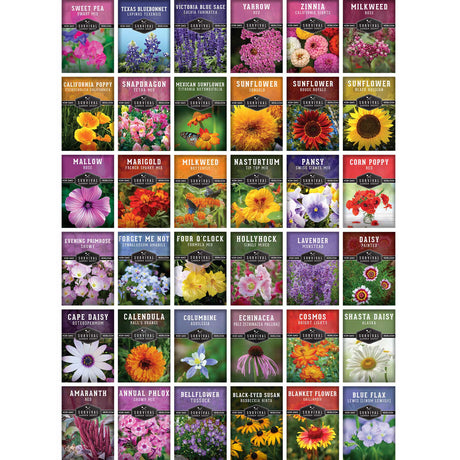
When you grow heirloom, non-GMO seeds, you can enjoy a delicious harvest and save the seeds for future crops. Your Survival Garden Seeds set you on a path to continue being self-sufficient for years.
Each Survival Garden Seed package contains instructions for saving that individual seed variety. The basic method of seed saving is to allow the vegetable to “go to seed.” Leave some vegetables on the vine and allow them to finish their development cycle. Ideally, these will come from your healthiest and most productive plants. When the vegetable seeds have fully developed, you’ll remove the seeds from the flesh and pulp. Clean and allow to dry completely. Then store in a cool, dry, and dark place. Remember to label your seeds with both variety and year, so you know which to use first.